Blog

  • Hidden Costs of Cheap Bathtub Refinishing Homeowners Regret

    Hidden Costs of Cheap Bathtub Refinishing Homeowners Regret

    Why Cheap Bathtub Refinishing Looks Like a Smart Deal

    Hidden Costs Behind Cheap Bathtub Refinishing often stay invisible until the bathroom starts peeling, cracking, or smelling like chemicals weeks later. At first glance, low-cost refinishing sounds like a perfect shortcut. You save money, avoid replacing the tub, and get a “fresh” bathroom without major renovation work.

    That’s exactly why many homeowners jump at bargain offers.

    A contractor promises fast results, a shiny finish, and a low upfront quote. The process seems simple. Sand the tub, spray a coating, and leave. Done in a day.

    But reality hits differently. shultzrefinishing

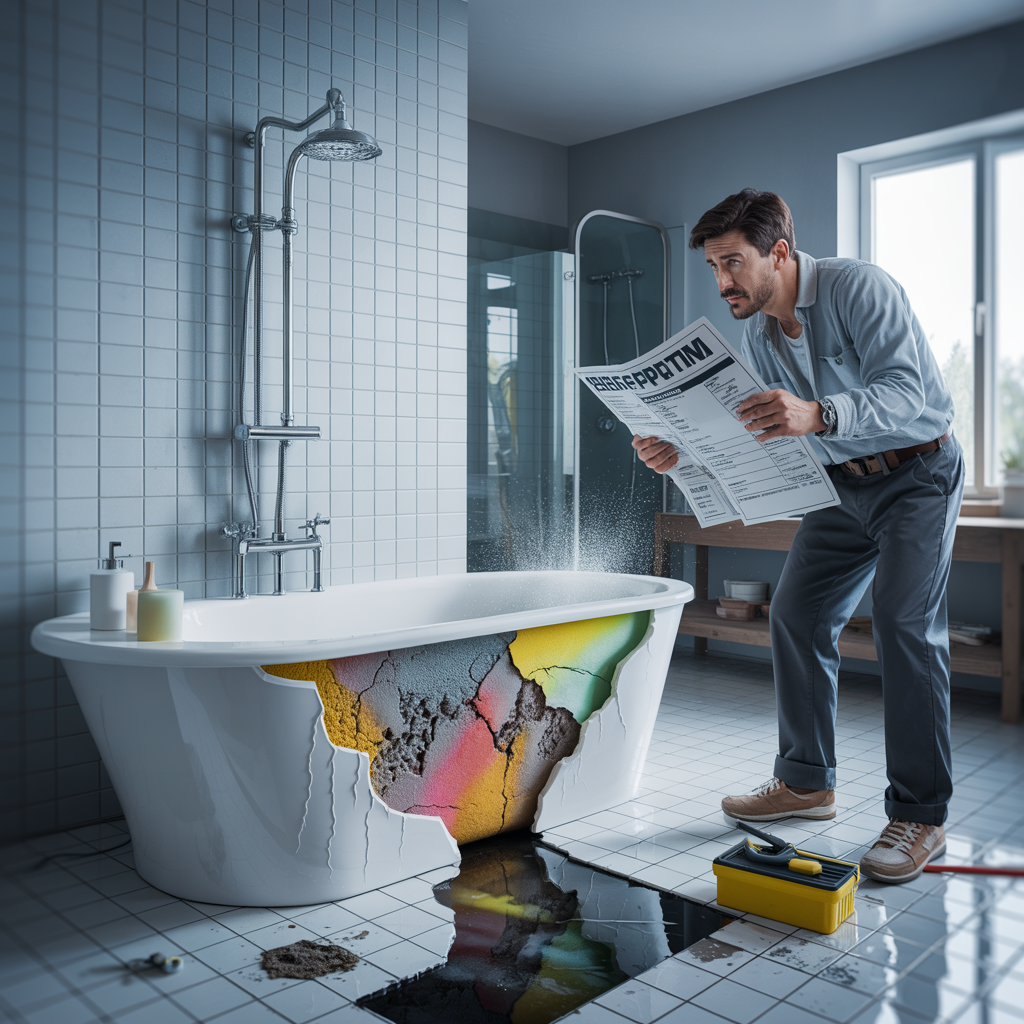
    Cheap bathtub refinishing can create expensive repairs, health concerns, and repeat refinishing jobs that cost more than doing it properly the first time.


    What Is Bathtub Refinishing and How Does It Work?

    Bathtub refinishing, also called reglazing or resurfacing, is the process of restoring an old bathtub surface instead of replacing the entire fixture.

    Professionals usually:

    • Clean the tub deeply
    • Remove soap scum and mineral buildup
    • Repair chips or cracks
    • Sand the surface
    • Apply bonding agents
    • Spray industrial-grade coatings

    The goal is to make an old bathtub look new again.

    When done correctly, refinishing can last between 7 to 15 years. But when corners get cut, the finish may fail within months.


    The Real Problem With “Too Cheap” Refinishing Services

    Low Prices Usually Mean Low-Quality Materials

    One of the biggest hidden costs comes from poor coating materials.

    Cheap contractors often use weak epoxy products that:

    • Fade quickly
    • Peel easily
    • Turn yellow
    • Lose shine fast

    Premium refinishing products cost more because they contain stronger bonding chemicals and more durable finishes.

    Budget providers sometimes dilute materials to stretch profits. The bathtub may look glossy for a few days, but the surface weakens fast under hot water and cleaning chemicals.

    Eventually, you pay again for repairs or full replacement.


    Peeling and Bubbling Become Expensive Fast

    Why Refinishing Failure Happens Early

    Peeling happens when the tub surface was not prepared correctly.

    Common shortcuts include:

    • Skipping acid etching
    • Poor sanding
    • Incomplete cleaning
    • Applying coatings too thick
    • Rushing drying time

    When water seeps underneath the coating, bubbles appear. Then the finish starts lifting away from the tub surface.

    At that stage, spot repairs rarely work well.

    Most homeowners end up paying for:

    • Complete stripping
    • Surface correction
    • Professional refinishing redo
    • Full tub replacement

    That “cheap” job suddenly costs triple the original price.


    Toxic Odors and Ventilation Problems

    Cheap Services Often Ignore Safety Standards

    Professional refinishing involves strong chemicals such as methylene chloride and industrial bonding agents. These substances require proper ventilation equipment.

    Low-budget refinishing crews sometimes skip:

    • Industrial exhaust systems
    • Protective masking
    • Air filtration
    • Safety gear

    The result?

    Your bathroom can smell toxic for days or even weeks.

    Who suffers the most?

    • Children
    • Elderly family members
    • People with asthma
    • Pets

    Poor ventilation may also spread chemical residue through the house.

    Some homeowners later spend money on:

    • Air purification
    • Deep cleaning services
    • Mold inspections
    • Paint correction

    Cheap Refinishing Can Damage Bathroom Plumbing

    Overspray Creates Hidden Repair Bills

    Many inexperienced contractors focus only on speed.

    They accidentally spray coating materials onto:

    • Faucets
    • Drain systems
    • Tiles
    • Shower doors
    • Plumbing fixtures

    Overspray hardens like glue.

    Removing it may require:

    • Professional cleaning
    • Drain replacement
    • Fixture polishing
    • New hardware installation

    These small fixes slowly add up.


    The Short Lifespan Nobody Mentions

    What Happens After One Year?

    A quality bathtub refinishing job should maintain:

    • Smooth texture
    • Strong gloss
    • Water resistance
    • Stain protection

    Cheap work usually deteriorates quickly.

    After about 6 to 12 months, many tubs show:

    • Surface dullness
    • Scratches
    • Chipping
    • Drain discoloration
    • Water stains

    At that point, homeowners face another decision:
    refinish again or replace the tub entirely.

    Repeated refinishing can eventually weaken the original bathtub surface.


    Why Reputable Contractors Charge More

    You’re Paying for More Than Paint

    Many people assume refinishing is “just spraying paint.”

    It isn’t.

    Professional bathtub refinishing includes:

    • Surface diagnostics
    • Industrial bonding agents
    • Proper ventilation systems
    • Skilled preparation work
    • Durable topcoat application
    • Controlled curing time

    Experienced contractors also provide:

    • Written warranties
    • Insurance coverage
    • Maintenance guidance
    • Professional cleanup

    Cheap providers often disappear after payment.

    That lack of accountability becomes another hidden cost.


    Hidden Moisture Problems Under Old Coatings

    Cheap Reglazing Can Trap Existing Damage

    Old bathtubs sometimes already have:

    • Rust
    • Tiny cracks
    • Water damage
    • Soft spots

    A rushed refinishing job may simply cover those issues instead of repairing them.

    The tub looks beautiful temporarily, but hidden moisture continues spreading underneath.

    Months later, homeowners discover:

    • Mold growth
    • Structural bathroom damage
    • Rotten flooring
    • Leaking walls

    Repairing hidden moisture damage can cost thousands of dollars.


    Cleaning Restrictions Add Long-Term Hassle

    Cheap Coatings Scratch Easily

    Low-end refinishing products usually cannot handle standard bathroom cleaners.

    Homeowners must avoid:

    • Abrasive sponges
    • Bleach-based products
    • Strong chemicals
    • Heavy scrubbing

    Even mild mistakes can scratch the finish.

    That means:

    • More maintenance
    • Faster wear
    • Frequent touch-ups

    Ironically, trying to save money creates a high-maintenance bathtub.


    When Bathtub Replacement Becomes the Better Option

    Who Should Skip Cheap Refinishing Entirely?

    Sometimes refinishing isn’t the smartest move.

    You may need replacement instead if:

    • The tub has deep rust
    • Structural cracks exist
    • Water leakage is present
    • Previous refinishing already failed multiple times
    • The bathtub feels unstable

    In these situations, cheap refinishing only delays a larger repair problem.

    A professional inspection helps determine whether resurfacing is actually worth it.


    How to Spot a Reliable Bathtub Refinishing Company

    Questions Smart Homeowners Always Ask

    Before hiring anyone, ask:

    1. What coating products do you use?
    2. How long does the finish last?
    3. Do you offer a written warranty?
    4. What ventilation system do you use?
    5. How long is the curing process?
    6. Can I see before-and-after photos?
    7. Are you insured?

    Reliable contractors answer clearly and confidently.

    Cheap operators usually avoid detailed explanations.


    Why “Fast and Cheap” Rarely Works in Bathroom Renovation

    Bathrooms deal with:

    • Moisture
    • Heat
    • Chemicals
    • Daily wear

    That environment destroys low-quality refinishing fast.

    A bathtub may look amazing on day one, but appearance alone means nothing if the coating cannot survive real-life use.

    The smartest homeowners focus on:

    • Durability
    • Safety
    • Material quality
    • Long-term value

    Not just the cheapest quote.


    The Psychology Behind Cheap Home Repair Decisions

    Why People Ignore the Warning Signs

    Many homeowners choose cheap refinishing because:

    • Bathroom renovations feel expensive
    • They want quick visual upgrades
    • Online ads make it look easy
    • Before-and-after photos are convincing

    But photos never show:

    • Chemical smells
    • Peeling surfaces
    • Hidden moisture
    • Repeat repair bills

    That’s the part most companies avoid discussing.


    Hidden Costs Behind Cheap Bathtub Refinishing Are Usually More Expensive Later

    Hidden Costs Behind Cheap Bathtub Refinishing become obvious only after the glossy finish starts failing. What seemed like a money-saving shortcut can quickly turn into peeling surfaces, toxic odors, plumbing damage, moisture problems, and repeated repair bills.

    A quality refinishing job is not just about appearance. It’s about proper preparation, durable materials, skilled workmanship, and long-term performance. Homeowners who focus only on the cheapest price often end up paying far more in the future.

    Before choosing any bathtub refinishing service, ask the right questions, compare warranties, and prioritize quality over shortcuts. In the long run, smart decisions save more money than bargain repairs ever will.
  • Furniture Losing Shine Too Fast? Stop Damage Today

    Furniture Losing Shine Too Fast? Stop Damage Today

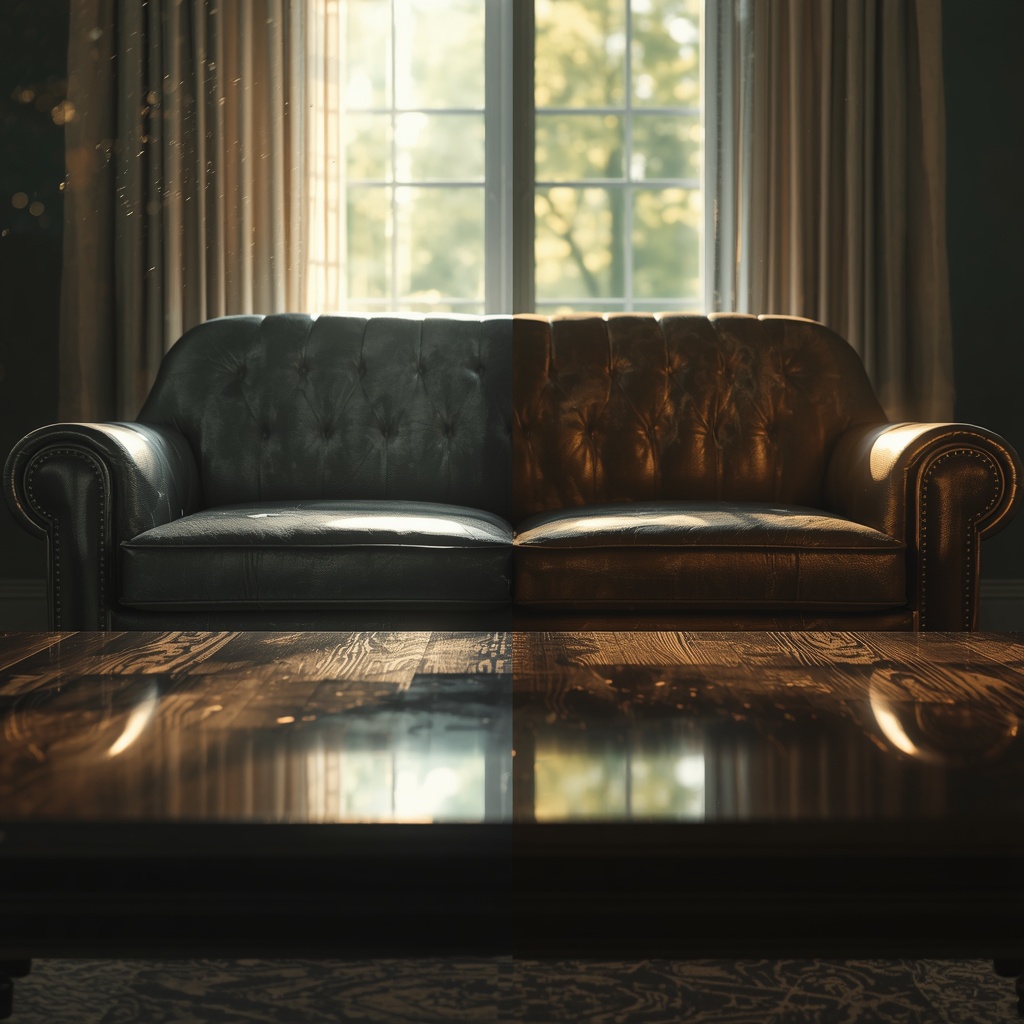
    Furniture Losing Its Shine Too Quickly? Stop the Damage Before It Starts Today becomes a real concern when your favorite pieces begin to look dull, scratched, or worn far sooner than expected. You might wonder what exactly causes this, who plays a role, where the damage begins, when it shows up, why it happens, and how you can stop it immediately. Let’s walk through it step by step—clearly, directly, and with solutions you can apply today. – shultzrefinishing


    Understanding Furniture Aging: What’s Really Happening?

    Furniture doesn’t suddenly age—it gradually deteriorates. Over time, materials weaken, finishes fade, and structures loosen. However, the real issue isn’t just time; it’s how daily exposure accelerates the process.

    What Makes Furniture Age Faster Than It Should?

    First, sunlight breaks down finishes and fades colors. Next, humidity fluctuations cause wood to expand and contract. In addition, poor-quality materials wear out faster. Finally, improper care speeds everything up.

    As a result, your furniture doesn’t just age—it deteriorates faster than expected.


    Who Actually Causes Furniture Damage?

    Most people blame time, but in reality, everyday habits play a bigger role. You, your environment, and your routines all contribute to the wear and tear.

    Common Habits That Speed Up Aging

    For example, dragging chairs instead of lifting them weakens joints. Meanwhile, using harsh cleaners strips protective layers. On top of that, ignoring spills allows stains to settle. Even overloading shelves can damage structure.

    Clearly, small actions create long-term consequences.


    Where Does Furniture Wear Start First?

    Damage doesn’t appear randomly. Instead, it begins in areas you use the most.

    Key Stress Points to Watch

    • Sofa armrests and cushions
    • Table surfaces and edges
    • Chair legs and joints
    • Cabinet handles

    Because these areas face constant use, they show aging first.


    When Do Signs of Aging Start to Appear?

    Furniture can begin showing wear surprisingly early. In fact, poor conditions can cause visible damage within months.

    Early Warning Signs

    Initially, you’ll notice fading colors. Then, small scratches appear. After that, joints may loosen slightly. Eventually, fabrics lose firmness.

    If you act early, you can prevent these issues from worsening.


    Why Your Furniture Ages Fast (The Core Reasons Explained)

    Now, let’s break down the main causes clearly.

    1. Sunlight Exposure

    First of all, UV rays attack materials directly. They fade wood, weaken fabric, and crack finishes. Therefore, constant exposure leads to rapid aging.

    2. Humidity Imbalance

    Next, moisture plays a critical role. Too much humidity causes swelling and mold. On the other hand, dry air leads to cracks and brittleness.

    3. Low-Quality Materials

    In many cases, cheap furniture simply doesn’t last. Thin layers, weak joints, and poor fabrics fail under normal use.

    4. Lack of Maintenance

    Finally, neglect accelerates everything. Without routine care, minor damage turns into permanent deterioration.


    How to Stop Furniture Aging Today

    Fortunately, you can take immediate action.

    Simple Changes That Deliver Results

    First, move furniture away from direct sunlight. Then, use curtains or blinds during peak hours. After that, maintain indoor humidity between 40–60%. Lastly, clean surfaces using gentle methods.

    By applying these steps, you slow down the aging process instantly.


    Smart Protection Strategies That Actually Work

    Use Protective Layers

    To begin with, place tablecloths on dining tables. Then, add slipcovers to sofas. Also, use coasters to prevent surface damage.

    These layers act as shields against daily wear.

    Rotate Usage Regularly

    In addition, rotate cushions and seating positions. This simple habit distributes pressure evenly.

    Why Rotation Matters

    If you don’t rotate, one area wears out faster while others remain untouched.


    Cleaning Techniques That Preserve, Not Destroy

    Cleaning can either protect or damage your furniture. Therefore, you must choose the right approach.

    Avoid Harsh Chemicals

    Strong cleaners strip finishes and weaken materials. As a result, furniture loses its protective layer.

    Use Gentle Cleaning Methods Instead

    Instead, use microfiber cloths, mild soap solutions, and specialized cleaners. These options clean effectively without causing harm.

    Clean Smart, Not Excessively

    Interestingly, over-cleaning can also damage surfaces. So, clean regularly—but gently.


    Material-Specific Care Tips

    Different materials require different care. Therefore, you should adjust your approach.

    Wood Furniture

    First, apply polish occasionally. Next, keep it away from heat sources. Also, avoid excessive moisture.

    Fabric Upholstery

    Meanwhile, vacuum regularly to remove dust. Then, treat stains immediately. Additionally, use fabric protectors.

    Leather Pieces

    For leather, condition it every few months. Also, keep it away from heat. Finally, clean it with specialized products.


    Environmental Control: The Hidden Advantage

    Your environment plays a powerful role.

    Control Temperature and Humidity

    Extreme conditions cause materials to expand and contract. Over time, this weakens structure.

    Improve Air Circulation

    Good airflow prevents moisture buildup and reduces the risk of mold.


    When Should You Repair vs Replace?

    Not every issue requires replacement.

    Repair If

    • Damage stays on the surface
    • Structure remains strong
    • Repair costs stay reasonable

    Replace If

    • Structural damage appears
    • Repairs cost too much
    • Materials fail completely

    Knowing the difference saves both time and money.


    Long-Term Habits That Keep Furniture Looking New

    Consistency creates lasting results.

    Daily and Weekly Habits

    First, wipe surfaces regularly. Then, avoid eating messy food on furniture. Also, limit pet access to delicate items.

    Monthly Maintenance Routine

    Additionally, check joints and screws. Look for early signs of damage. Reapply protective treatments when needed.


    Why Prevention Always Wins

    Repairing damaged furniture takes time and money. In contrast, prevention requires minimal effort.

    Therefore, when you take small steps consistently, you protect your investment long-term.


    Furniture Losing Its Shine Too Quickly? Stop the Damage Before It Starts Today

    Furniture Losing Its Shine Too Quickly? Stop the Damage Before It Starts Today highlights a simple truth: furniture doesn’t fail randomly—it responds to how you treat it. By understanding what causes damage, who contributes to it, where it starts, when it appears, why it accelerates, and how to stop it, you take full control. Apply the right habits, adjust your environment, and maintain your furniture consistently. As a result, your furniture will stay strong, attractive, and long-lasting for years to come.

  • No-Sand Makeover Magic: Restore Old Furniture Without Sanding

    No-Sand Makeover Magic: Restore Old Furniture Without Sanding

    Fast, Dust-Free Techniques to Revive Tired Furniture with Minimal Effort


    No-Sand Makeover Magic: Restore Old Furniture Without Sanding Like a Pro

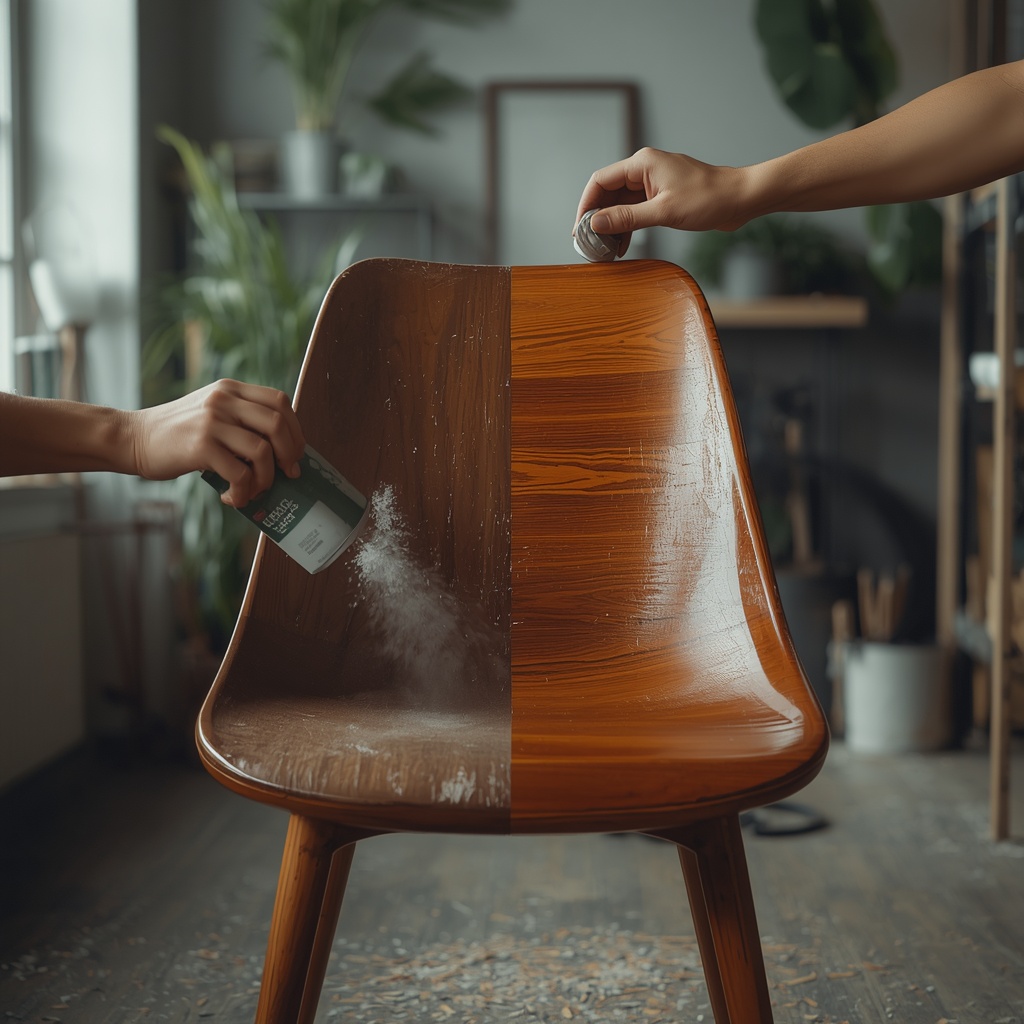
    If you’ve ever wondered how to Restore Old Furniture Without Sanding: Smart Methods, you’re not alone—this approach has quickly become a favorite for DIY enthusiasts who want results without the mess. You don’t need clouds of dust, hours of prep, or heavy tools to bring old furniture back to life. Instead, you can rely on clever, modern techniques that save time while delivering impressive results.

    Let’s break it down step by step so you can start transforming your furniture today. – shultzrefinishing


    What Does “No-Sanding Restoration” Really Mean?

    Simply put, no-sanding restoration skips the traditional process of stripping and sanding wood surfaces. Instead, it uses chemical bonding agents, cleaning solutions, and specialized paints that stick directly to existing finishes.

    This method works best when:

    • The furniture is structurally sound
    • The surface isn’t deeply damaged
    • You want a quick refresh rather than a full rebuild

    In other words, you’re upgrading—not rebuilding from scratch.


    Why Skip Sanding in the First Place?

    Save Time and Energy

    Sanding takes hours. Without it, you cut your project time in half.

    Avoid Dust and Mess

    No sanding means no fine dust coating your entire workspace.

    Beginner-Friendly

    You don’t need advanced skills or expensive tools to get started.

    Protect Original Material

    Sometimes, the original finish has character worth preserving.


    Who Should Use No-Sand Furniture Restoration?

    This method works perfectly for:

    • Busy homeowners who want quick upgrades
    • Apartment dwellers with limited workspace
    • DIY beginners learning their first projects
    • Upcyclers flipping furniture for resale

    If you want fast results without complexity, this approach fits.


    Where Can You Apply These Techniques?

    You can restore almost any indoor furniture, including:

    • Dressers
    • Coffee tables
    • Cabinets
    • Nightstands
    • Chairs

    However, outdoor furniture may require extra sealing for durability.


    When Is the Best Time to Restore Furniture?

    Timing matters more than you think.

    • Work in a well-ventilated space
    • Choose a day with low humidity
    • Avoid extreme temperatures (below 10°C or above 30°C)

    Good conditions help finishes cure properly and last longer.


    How to Restore Old Furniture Without Sanding: Step-by-Step

    Step 1: Deep Clean the Surface

    Start with a strong cleaner or degreaser. Dirt, oil, and residue prevent paint or finish from sticking.

    • Use a microfiber cloth
    • Focus on corners and edges
    • Let it dry completely

    A clean surface is your foundation.


    Step 2: Use a Liquid Deglosser

    A liquid sandpaper (deglosser) removes shine and prepares the surface.

    • Apply with a cloth
    • Follow product instructions
    • No rinsing required in most cases

    This step replaces traditional sanding.


    Step 3: Apply Bonding Primer (Optional but Powerful)

    Not all projects need primer—but when in doubt, use it.

    • Helps paint adhere better
    • Prevents stains from bleeding through
    • Creates a smooth base

    Think of it as insurance for your finish.


    Step 4: Paint or Refinish

    Now comes the transformation.

    • Use chalk paint, mineral paint, or acrylic furniture paint
    • Apply thin, even coats
    • Wait between coats (usually 1–2 hours)

    Two coats usually deliver solid coverage.


    Step 5: Seal for Protection

    Sealing locks everything in.

    • Use polyurethane, wax, or topcoat
    • Choose matte, satin, or glossy finish
    • Apply evenly and let cure fully

    This step ensures durability.


    Smart Methods That Actually Work

    Chalk Paint Magic

    Chalk paint sticks to almost anything. It’s forgiving and perfect for beginners.

    • No primer required in many cases
    • Easy to distress for a vintage look
    • Dries quickly

    Gel Stain Transformation

    Gel stain works over existing finishes without stripping.

    • Adds rich color
    • Enhances wood grain
    • Ideal for cabinets and tables

    Paint + Wash Technique

    This method creates a soft, layered look.

    • Apply paint
    • Wipe partially before it dries
    • Reveal texture underneath

    Perfect for rustic styles.


    Peel-and-Stick Veneer

    Want a wood look without sanding?

    • Apply adhesive veneer sheets
    • Trim edges cleanly
    • Seal for durability

    It’s fast and surprisingly realistic.


    Common Mistakes to Avoid

    Skipping the Cleaning Step

    Even the best paint won’t stick to grease.

    Applying Thick Coats

    Thick layers lead to drips and uneven drying.

    Ignoring Dry Time

    Rushing ruins the finish—patience pays off.

    Using the Wrong Products

    Not all paints are designed for furniture.


    How Long Does It Take?

    One of the biggest advantages is speed.

    • Cleaning: 30–60 minutes
    • Painting: 2–4 hours (including drying time)
    • Sealing: 1–2 hours

    In most cases, you can finish in a single day.


    Why This Method Is Trending Right Now

    People want efficiency. They want results without complexity.

    No-sand restoration delivers:

    • Faster projects
    • Lower cost
    • Cleaner workflow
    • Professional-looking results

    It aligns perfectly with modern DIY trends.


    Pro Tips for Better Results

    • Use high-quality brushes for smoother finishes
    • Work in natural lighting to spot imperfections
    • Sand lightly only if necessary (not required, but optional)
    • Always test on a hidden area first

    Small details make a big difference.


    Restore Old Furniture Without Sanding the Smart Way

    When you look at the bigger picture, No-Sand Makeover Magic: Restore Old Furniture Without Sanding Like a Pro isn’t just a shortcut—it’s a smarter way to work. You skip the mess, save time, and still achieve a finish that looks clean, modern, and durable. Whether you’re refreshing a single chair or flipping an entire room’s worth of furniture, these smart methods give you control without the hassle. Stick to the process, choose the right products, and you’ll turn worn-out pieces into standout features—no sanding required.

  • From Worn Wood to Premium Table: A Stunning Transformation

    From Worn Wood to Premium Table: A Stunning Transformation

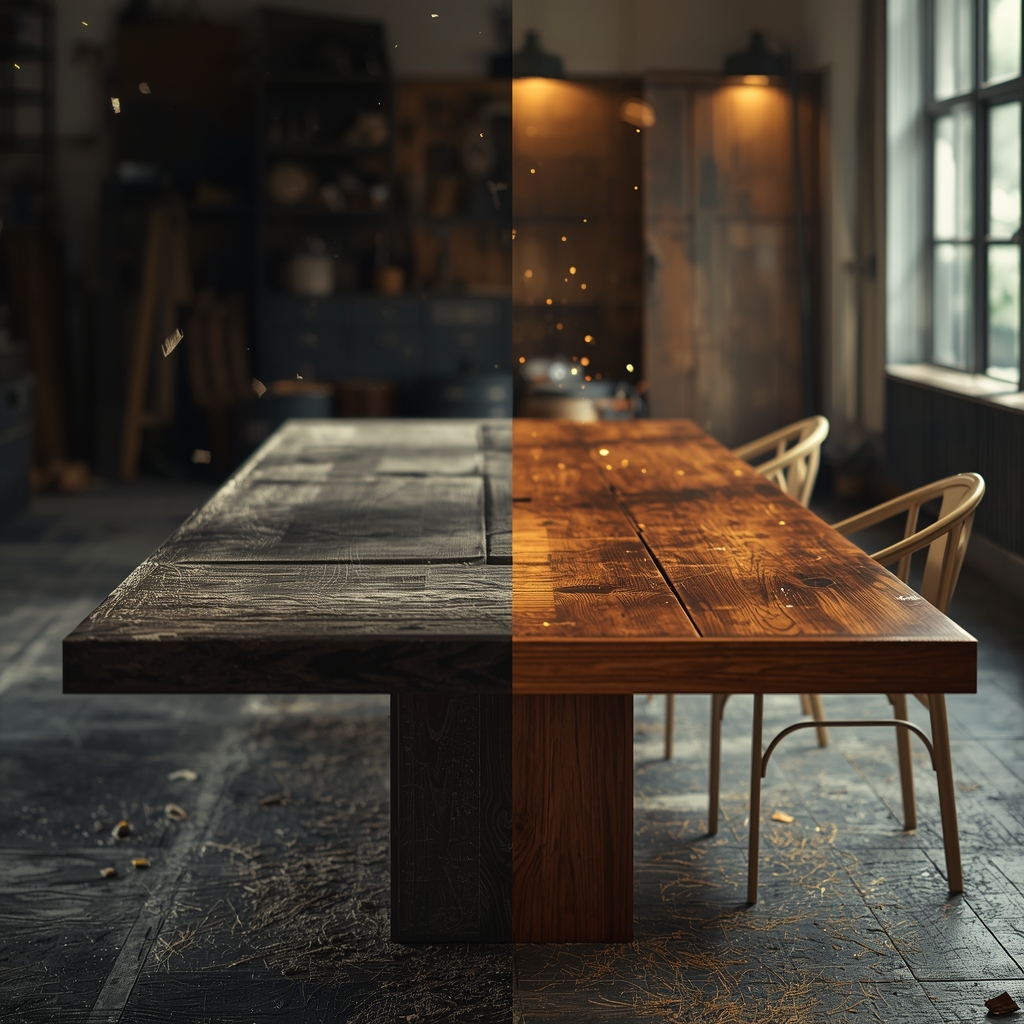
    shultzrefinishing – From Worn Wood to Premium Table: A Dramatic Transformation That Looks Unrecognizable clearly shows how an old table can drastically change into a premium piece of furniture that captures attention. At first, it may seem unusable; however, after going through the right process, the table actually appears elegant and highly valuable. So, if you have an old table lying around unused, now is the time to turn it into something extraordinary.


    Why Is an Old Table Worth Saving?

    Hidden Value That Is Often Underestimated

    First of all, many people often underestimate old tables because of their dull appearance. In fact, most old tables use solid wood such as teak or mahogany, which are known for being strong and durable. Therefore, instead of throwing it away, you can actually take advantage of the material quality.

    In addition, old tables usually have unique character that modern products do not possess. In other words, you are not just repairing it, but also bringing back the story behind the furniture.


    Who Can Do This Transformation?

    From Beginners to Professional DIY Enthusiasts

    Interestingly, anyone can start this project. Whether you are a beginner or already experienced in the do-it-yourself (DIY) world, the transformation process can still be done easily.

    However, you need to prepare patience and a willingness to learn. Over time, you will become more familiar, and the results will improve.


    Where Can You Find Quality Old Tables?

    Unexpected Sources at Low Prices

    Next, you can look for old tables in various places. For example, flea markets, home storage, or even second-hand items from neighbors.

    Usually, the best time to hunt is during a garage sale or when people are moving. Even if the condition looks bad, make sure the frame is still sturdy. Because a strong structure is the key to a successful transformation.


    When Is the Best Time to Start This Project?

    Choose a Moment with Maximum Focus

    To achieve the best results, you should start the project when you have enough free time. Ideally, allocate one to two days to complete the entire process.

    On the other hand, avoid working in a rush. In fact, the more carefully you go through each step, the neater and more durable the final result will be.


    Why Is This Transformation Becoming More Popular?

    The Rising Trend of Sustainable Living

    Lately, more people have started to care about the environment. Therefore, they choose to repair old items instead of buying new ones.

    By transforming an old table, you not only save money but also support an eco-friendly lifestyle. So, this small step actually creates a big impact.


    How to Start Transforming an Old Table?

    Basic Steps You Must Follow

    To begin, you can follow these steps in order:

    1. Clean the table from dust and dirt
    2. Sand the entire surface until smooth
    3. Repair damaged parts using wood glue or filler
    4. Apply a base coat (primer)
    5. Continue with the main paint or varnish

    After that, make sure each step is completely dry before moving to the next. That way, the result will look neater and more professional.


    Finishing Techniques That Elevate the Table

    From Minimalist Matte to Premium Glossy

    Next, you can determine the type of finishing based on the desired style. For instance, if you want a modern look, use matte colors such as white or gray.

    On the other hand, if you want a luxurious feel, choose dark colors with a glossy finish. You can even add accents like gold trim to make it look more exclusive.


    Common Mistakes to Avoid

    Don’t Let the Project Fail Halfway

    Even though it looks simple, many people often make critical mistakes. For example, they skip the sanding process or immediately paint without a proper base.

    In addition, some people apply multiple coats of paint too quickly without waiting for them to dry. As a result, the surface becomes uneven and easily damaged. Therefore, always follow the process patiently and carefully.


    Creative Ideas to Make the Table More Unique

    Personal Touches That Make a Difference

    To make the result more attractive, you can add creative touches. For example, create geometric patterns, a distressed effect, or even a river table design using resin.

    On the other hand, you can also replace the table legs with an industrial-style metal design. This way, the table will look more modern and trendy.


    How Much Does It Cost?

    Affordable but Looks Expensive

    In terms of cost, this project is quite budget-friendly. With a budget of around Rp100,000 to Rp300,000, you can already achieve a result that looks expensive.

    Compared to buying a new table, it is certainly much more efficient. In fact, the result can look more exclusive because it has a personal touch.


    Final Result: From Scrap to Centerpiece

    A Transformation That Changes Everything

    After all the processes are complete, the table that once looked worn out now turns into a premium piece of furniture. Not only does it function as a table, but it also becomes a decorative element that attracts attention.

    In other words, you have successfully turned something considered worthless into something special.


    A Positive Impact Beyond Aesthetics

    More Than Just a New Table

    Furthermore, this transformation brings many benefits. You learn new skills, save expenses, and contribute to environmental sustainability.

    In addition, there is a unique sense of pride when you see the result of your own work. This is something you cannot get from simply buying a new item.


    When Creativity Defeats Old Value

    From Worn Wood to Premium Table: A Dramatic Transformation That Looks Unrecognizable proves that with the right steps and consistent creativity, you can turn an old table into a high-value piece. So, don’t hesitate to start now—because every piece of scrap always has the potential to become extraordinary.

  • Furniture Refinishing: Upgrade Old Furniture Without Buying New

    Furniture Refinishing: Upgrade Old Furniture Without Buying New

    Furniture Refinishing Services: Transform Old Furniture into a Premium Look Without Buying New! becomes a practical solution when you want to upgrade your home without purchasing brand-new furniture. Instead of replacing everything, you can revive old pieces and give them a fresh, modern, and trend-aligned appearance.

    What Are Furniture Refinishing Services and Why Do They Matter?

    Furniture refinishing services involve restoring and enhancing old furniture through techniques such as sanding, repainting, and applying new coating. In other words, you don’t just repair the item—you elevate its overall aesthetic value. – shultzrefinishing

    Moreover, this service matters because:

    • You can significantly reduce costs
    • You preserve the emotional value of old furniture
    • You support an eco-friendly lifestyle

    Who Needs Furniture Refinishing Services?

    In reality, anyone can benefit from this service. However, these groups use it most often:

    Homeowners

    They usually want to refresh their interior without major renovations. Therefore, refinishing becomes a fast and effective solution.

    Business Owners

    Additionally, café, restaurant, and hotel owners rely on refinishing to maintain a consistent and attractive interior appearance.

    Antique Collectors

    On the other hand, collectors aim to preserve authenticity while improving the overall condition of their items.

    Where Can Furniture Refinishing Services Be Applied?

    Interestingly, you can apply refinishing in various areas:

    • Living room (tables, chairs)
    • Bedroom (beds, wardrobes)
    • Office (desks, chairs)
    • Outdoor areas (garden furniture)

    As a result, you can upgrade nearly every space without replacing your furniture.

    When Is the Best Time to Refinish Furniture?

    Ideally, you should refinish your furniture when:

    • The color starts to fade
    • The surface looks dull or scratched
    • The structure becomes loose
    • You want to follow new design trends

    The sooner you act, the easier the restoration process will be.

    Why Is Furniture Refinishing More Beneficial?

    Compared to buying new furniture, refinishing offers clear advantages:

    More Cost-Effective

    First, you can save up to 70% compared to purchasing new furniture.

    Fully Customizable

    In addition, you can choose colors, textures, and finishing styles that match your taste.

    Environmentally Friendly

    At the same time, you help reduce furniture waste that ends up in landfills.

    How Does the Furniture Refinishing Process Work?

    To achieve optimal results, professionals follow a structured process:

    1. Initial Inspection

    First, technicians thoroughly assess the condition of the furniture.

    2. Sanding

    Next, they remove the old finish and smooth the surface.

    3. Structural Repairs

    If damage is found, they fix it to restore stability.

    4. Finishing

    Then, they apply new paint or protective coating based on your preference.

    5. Quality Check

    Finally, they ensure the finished product meets quality standards.

    Popular Types of Finishing

    To get the desired result, you need to choose the right finishing type:

    Natural Finish

    This option highlights the natural wood grain.

    Duco Finish

    In contrast, duco delivers a modern solid-color appearance.

    Melamine Finish

    Additionally, melamine offers strong resistance to scratches.

    Distressed Finish

    Meanwhile, distressed creates a unique vintage look.

    Tips for Choosing the Best Furniture Refinishing Services

    To avoid mistakes, consider these steps:

    • First, review the service provider’s portfolio
    • Second, read customer reviews
    • Third, ensure they use high-quality materials
    • Finally, ask about service warranties

    By following these tips, you increase your chances of getting excellent results.

    Common Mistakes to Avoid

    Unfortunately, many people still make these mistakes:

    • Choosing the cheapest service without considering quality
    • Failing to define a design concept from the start
    • Ignoring the type of furniture material

    As a result, the final outcome often falls short of expectations.

    Current Trends in Furniture Refinishing

    Today, refinishing trends continue to evolve. For example:

    • Neutral colors like white and gray
    • Minimalist matte finishes
    • Scandinavian and industrial styles
    • Wood and metal combinations

    By following these trends, you can create a more modern look.

    How Much Do Furniture Refinishing Services Cost?

    The cost varies depending on factors such as size, condition, and finishing type.

    For example:

    • Chairs start from $15
    • Tables range from $30 to $100
    • Wardrobes can reach $200 or more

    Even so, refinishing remains far more affordable than buying new furniture.

    How to Maintain Furniture After Refinishing

    To keep your furniture looking new, follow these simple steps:

    • Avoid direct sunlight exposure
    • Use a soft cloth for cleaning
    • Keep away from harsh chemicals
    • Perform regular maintenance

    This way, your furniture will stay in excellent condition longer.

    Old Furniture, New Value: Why You Should Try It

    Ultimately, you don’t need to throw away old furniture just because it looks outdated. Instead, you can transform it into something more stylish and valuable.

    Furniture Refinishing Services Are a Smart Solution

    In conclusion, Furniture Refinishing Services: Transform Old Furniture into a Premium Look Without Buying New! offers a practical and cost-efficient way to upgrade your space. With the right approach, you can achieve a fresh, stylish look while staying environmentally responsible.

  • Furniture Maintenance Tips: Keep Furniture Looking New Easily

    Furniture Maintenance Tips: Keep Furniture Looking New Easily

    shultzrefinishing.com – Furniture Maintenance Tips That Actually Work: Keep Your Furniture Looking New Without the Hassle helps you protect your furniture, extend its lifespan, and maintain its visual appeal without overcomplicating the process. Instead of letting dust, stains, and wear build up, you can take simple, consistent actions that deliver real results. So, let’s break it down and focus on what truly works.


    Why Furniture Maintenance Matters More Than You Think

    First of all, furniture maintenance directly impacts durability and cost efficiency. When you care for your furniture properly, you prevent early damage and avoid unnecessary replacements.

    • What: You maintain material quality and appearance
    • Why: You reduce repair costs and extend lifespan
    • Who: Homeowners, renters, and business owners
    • When: Daily light care and monthly deep cleaning
    • Where: Both indoor and outdoor spaces
    • How: By applying the right cleaning and protection methods

    As a result, your furniture stays functional and visually appealing for years.


    Different Furniture Materials Require Different Strategies

    Wood Furniture: Protect It Before It Fails

    Wood furniture adds elegance, but it reacts quickly to environmental changes. Therefore, you need to handle it with care.

    How to Maintain Wood Furniture

    • Use a soft, dry cloth to remove dust regularly
    • Avoid excess moisture at all times
    • Apply wood polish to preserve the finish
    • Keep it away from direct sunlight

    If you ignore these steps, the wood can crack or warp over time.


    Fabric Furniture: Clean It Before Stains Set In

    Fabric furniture offers comfort, but it absorbs dirt easily. So, you must act quickly when spills happen.

    Smart Fabric Care Tips

    • Vacuum surfaces at least once a week
    • Apply a fabric cleaner for stains immediately
    • Blot spills instead of rubbing them
    • Add protective covers when possible

    By doing this, you prevent permanent stains and maintain a fresh look.


    Leather Furniture: Maintain It to Preserve Luxury

    Leather furniture looks premium, but it dries out without proper care. Consequently, you need to keep it conditioned.

    Leather Maintenance Basics

    • Apply leather conditioner regularly
    • Keep it away from heat sources
    • Wipe it with a slightly damp cloth
    • Avoid harsh chemicals completely

    Otherwise, the leather will crack and lose its appeal.


    Avoid These Common Furniture Maintenance Mistakes

    Stop Using Random Cleaning Products

    Many people grab any cleaner available. However, not all products suit every material. Always choose the right one.

    Limit Water Exposure

    Water may seem harmless, but it weakens wood and other materials. Therefore, always use minimal moisture.

    Place Furniture Strategically

    Direct sunlight and humidity damage furniture quickly. So, position your furniture wisely.


    Clean Furniture the Right Way Every Time

    Follow This Simple Process

    1. Remove dust first
    2. Apply a suitable cleaner
    3. Wipe with a microfiber cloth
    4. Dry the surface completely

    When you follow these steps, you protect both the surface and structure.


    Balance Daily Care with Deep Maintenance

    Daily Care Keeps Things Under Control

    • Wipe dust regularly
    • Clean small stains immediately
    • Keep surfaces organized

    Monthly Maintenance Restores Quality

    • Perform deep cleaning
    • Apply polish or conditioner
    • Inspect for minor damage

    Because of this balance, your furniture remains in top condition.


    Store Furniture Smartly to Extend Its Life

    Control the Environment First

    • Avoid damp areas
    • Use a dehumidifier if needed
    • Maintain proper airflow

    Add Protective Accessories

    • Install furniture pads
    • Use dust covers
    • Apply scratch protection

    As a result, you reduce wear and tear significantly.


    Take Outdoor Furniture Maintenance Seriously

    Outdoor furniture faces constant exposure to weather. Therefore, you must take extra steps.

    How to Maintain Outdoor Furniture

    • Choose weather-resistant materials
    • Cover furniture during rain
    • Clean surfaces regularly
    • Store items during long periods of inactivity

    If you follow these steps, you prevent rapid deterioration.


    Remove Stubborn Stains Before They Settle

    Handle Water Stains Quickly

    Mix vinegar and olive oil, then apply gently.

    Treat Oil Stains Effectively

    Sprinkle baking soda, let it absorb the oil, then clean it off.

    Remove Ink Stains Carefully

    Use rubbing alcohol, but apply it with precision.

    By acting fast, you increase your chances of full removal.


    Decide Between Repairing and Replacing

    Repair Furniture When It Makes Sense

    • Damage remains minor
    • Structure stays intact
    • Costs stay low

    Replace Furniture When Necessary

    • Safety becomes an issue
    • Damage spreads significantly
    • Repair costs exceed value

    So, always evaluate before making a decision.


    Choose the Right Maintenance Products

    Focus on These Key Factors

    • Match the product to the material
    • Avoid harsh chemicals
    • Check user reviews
    • Ensure long-term safety

    When you choose correctly, you protect your furniture instead of damaging it.


    Build Habits That Keep Furniture Looking New

    • Rotate furniture usage regularly
    • Avoid placing excessive weight
    • Clean consistently
    • Use protective accessories

    Ultimately, small habits create long-term results.


    Furniture Maintenance Tips That Actually Work: Keep Your Furniture Looking New Without the Hassle gives you a clear and practical system to maintain your furniture effectively. By taking action consistently, choosing the right methods, and understanding what, who, where, when, why, and how maintenance works, you can extend the life of every piece you own. Apply these Furniture Maintenance Tips That Actually Work: Keep Your Furniture Looking New Without the Hassle starting today, and you will see your furniture stay durable, clean, and visually impressive for years ahead.

  • Furniture Restoration: Turn Old Pieces into Luxury Furniture

    Furniture Restoration: Turn Old Pieces into Luxury Furniture

    Furniture Restoration: Transform Old Pieces into Luxury Statement Furniture the Smart Way is no longer just a niche hobby—it’s a practical, stylish, and cost-effective solution for anyone who wants high-end furniture without overspending. Instead of constantly buying new items, more people now choose to revive what they already own. shultzrefinishing


    Why Furniture Restoration Is Rapidly Growing

    First of all, this trend continues to rise because people actively seek smarter and more sustainable choices.

    What Exactly Is Furniture Restoration?

    Simply put, furniture restoration involves repairing, refinishing, and upgrading old furniture so it looks fresh again—or even better than before.

    Why Do People Prefer Restoration?

    More importantly, people choose restoration because:

    • It saves money compared to buying new
    • It preserves sentimental value
    • It supports eco-friendly living
    • It allows full design customization

    As a result, many homeowners realize that older furniture often offers stronger materials and better craftsmanship.


    Who Should Try Furniture Restoration?

    In reality, almost anyone can benefit from this approach.

    Ideal Users

    For example:

    • Homeowners with worn-out furniture
    • Antique collectors who value authenticity
    • Interior design enthusiasts who love unique pieces
    • Business owners creating vintage-style spaces

    Therefore, if your furniture still has a solid structure, you should consider restoring it instead of replacing it.


    Where Can You Restore Furniture?

    Next, you need to decide where to carry out the process.

    DIY Restoration at Home

    On one hand, you can restore furniture yourself if you enjoy hands-on projects and want to save money.

    Professional Restoration Services

    On the other hand, you can hire professionals to achieve cleaner, more polished results—especially for valuable items.


    When Should You Restore Furniture?

    Timing plays a crucial role here. So, don’t wait until the damage becomes severe.

    Clear Signs You Should Act Now

    For instance:

    • The paint starts peeling
    • The surface looks dull or faded
    • The legs feel loose or unstable
    • Cracks appear in the wood

    Consequently, early restoration always leads to better results with less effort.


    How Furniture Restoration Actually Works

    Now, let’s break down the process step by step.

    1. Inspect the Condition

    First, carefully evaluate the furniture to identify all issues.

    2. Clean Thoroughly

    Then, remove dirt, grease, and any buildup that could affect the finish.

    3. Repair Structural Damage

    After that, fix broken joints, loose legs, or weak frames.

    4. Sand the Surface

    Next, smooth the surface to prepare it for finishing.

    5. Apply Finishing Touches

    Finally, apply paint, stain, or varnish to achieve the desired look.


    Which Types of Furniture Work Best for Restoration?

    Not all furniture qualifies, but many pieces offer great potential.

    Solid Wood Furniture

    For example, teak, oak, and mahogany respond extremely well to restoration.

    Chairs and Sofas

    In addition, you can easily upgrade them by replacing upholstery and padding.

    Antique Cabinets and Dressers

    Moreover, restoring these pieces often increases their market value.


    Common Mistakes You Should Avoid

    Even though restoration seems simple, small mistakes can ruin the outcome.

    Skipping Proper Cleaning

    First, never skip cleaning because dirt can affect the final finish.

    Choosing the Wrong Materials

    Next, avoid using incorrect paint or coatings for specific wood types.

    Rushing the Process

    Most importantly, take your time—rushed work rarely looks professional.


    Practical Tips for a Professional Result

    If you want better results, follow these strategies.

    Use High-Quality Tools

    To begin with, invest in proper tools for smoother and cleaner finishes.

    Choose Timeless Colors

    Additionally, stick with neutral tones like white, grey, or dark brown.

    Add Unique Details

    Finally, upgrade handles or add accents to create a distinctive look.


    Restoration vs Buying New: Make the Smart Choice

    At this point, you might wonder which option works best.

    Why Restoration Wins

    • It costs less
    • It feels more personal
    • It supports sustainability

    When Buying New Makes Sense

    • You need quick solutions
    • You want ready-to-use options
    • You prefer convenience

    However, in most cases, restoration delivers better long-term value.


    Can Furniture Restoration Become a Business?

    Absolutely—and many people already take advantage of it.

    Why It Works as a Business

    First, you can start with low capital.
    Then, you can target a wide market.
    Finally, you can sell restored pieces at premium prices.


    How to Start a Furniture Restoration Business

    If you want to go further, follow these steps.

    Define Your Focus

    For instance, choose vintage, minimalist, or custom styles.

    Build a Strong Portfolio

    Next, showcase before-and-after transformations.

    Use Social Media Effectively

    After that, promote your work visually to attract customers.


    Current Trends in Furniture Restoration

    Today, restoration goes beyond repair—it creates style.

    Popular Styles Right Now

    • Industrial
    • Scandinavian
    • Rustic
    • Vintage classic

    As trends evolve, you can adapt your style to match market demand.


    Why Furniture Restoration Helps the Environment

    Finally, let’s look at the bigger picture.

    Environmental Benefits

    First, it reduces waste.
    Second, it saves natural resources.
    Third, it supports sustainable living practices.

    Therefore, restoration doesn’t just benefit you—it benefits the planet.


    Furniture Restoration Is a Smart Investment

    Furniture Restoration: Transform Old Pieces into Luxury Statement Furniture the Smart Way gives you more than just upgraded furniture—it gives you control, creativity, and long-term value. By taking action and restoring what you already have, you not only save money but also create unique pieces that reflect your personal style. In the end, choosing restoration means choosing smarter living.

  • Before & After Secrets: Turn Dull Spaces into Stunning Makeovers

    Before & After Secrets: Turn Dull Spaces into Stunning Makeovers

    What Exactly Are Before & After Projects

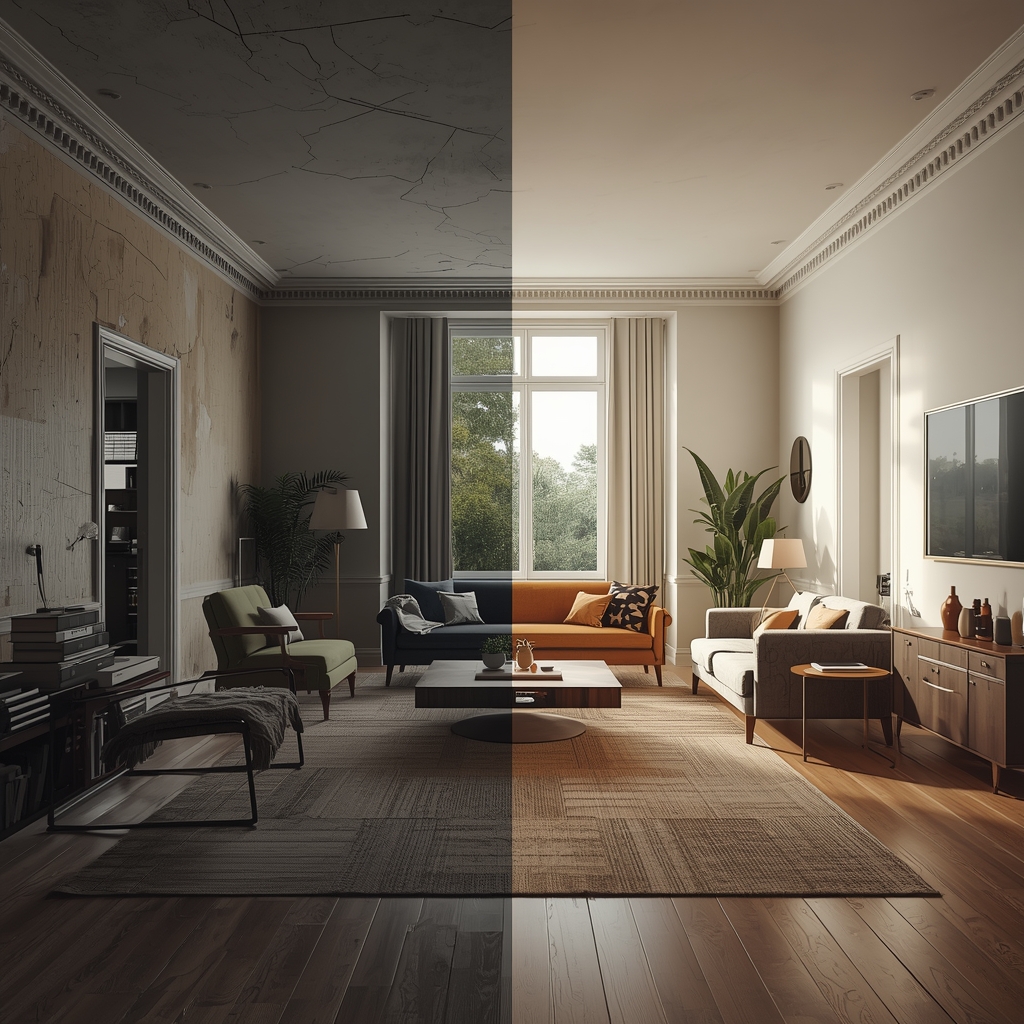
    Before & After Projects Secrets: Turn Dull Spaces into Stunning Transformations Overnight shows how you can transform ordinary spaces into something extraordinary with clear, visible results. Simply put, before & after projects highlight the difference between an original condition and an improved version. shultzrefinishing

    First, you capture the starting point. Then, you execute changes step by step. Finally, you present the results. Because people trust what they can see, this approach instantly builds credibility. As a result, many creators and professionals rely on it to showcase real impact.


    Who Can Benefit from Transformation Projects

    Now, let’s talk about who can use this strategy effectively. In reality, almost anyone can benefit from it.

    For example:

    • Homeowners upgrade their living spaces
    • Interior designers strengthen their portfolios
    • Content creators attract more engagement
    • Business owners build trust faster

    In other words, if you want to prove your value visually, you should start using before & after projects immediately.


    Where to Find Creative Ideas That Actually Work

    Next, you need inspiration. Fortunately, you can find ideas almost everywhere.

    To begin with, explore Pinterest and Instagram for trending concepts. Then, watch YouTube tutorials to understand execution. Meanwhile, observe your own surroundings for practical ideas.

    Interestingly, many successful projects start from simple problems. Therefore, instead of overthinking, focus on improving what already exists.


    When Is the Perfect Time to Start a Makeover

    At this point, you might wonder when you should begin. The answer is simple: start as soon as possible.

    However, certain moments make it even more ideal:

    • When your space feels outdated
    • After moving into a new home
    • When you have extra budget
    • When you need a creative refresh

    Ultimately, the sooner you act, the faster you achieve results.


    Why Before & After Projects Capture Attention Instantly

    So, why do these projects work so well? Because they trigger curiosity and emotion at the same time.

    First, viewers notice the contrast. Then, they start asking questions like:

    • What changed?
    • How did it happen?
    • Can I do this too?

    As a result, engagement increases naturally. That’s exactly why before & after content performs so well across platforms.


    How to Plan a Transformation Like a Pro

    Before you start, you need a solid plan. Otherwise, your project may fall apart halfway through.

    Define Your Goal Clearly

    First, decide what you want to achieve—better aesthetics, improved function, or both.

    Analyze the Starting Point

    Next, evaluate your current space. Take clear photos to document the “before” stage.

    Choose a Concept

    Then, select a design style such as minimalist, industrial, or modern.

    Set a Realistic Budget

    Finally, plan your expenses carefully so you avoid overspending.


    Step-by-Step Guide to Execute Your Project

    Once you finish planning, move straight into execution.

    Step 1: Clean and Declutter

    First, remove unnecessary items. This step reveals the true condition of your space.

    Step 2: Make Structural Changes

    Next, fix walls, floors, or layouts if needed.

    Step 3: Add Design Elements

    Then, introduce color, furniture, and decor.

    Step 4: Improve Lighting

    After that, upgrade your lighting. Good lighting instantly elevates any room.

    Step 5: Final Touches

    Finally, add small details to complete the transformation.


    Tools, Materials, and Budget Tips That Matter

    At this stage, your choice of tools becomes critical. Therefore, always invest in quality materials.

    For instance:

    • High-quality paint ensures durability
    • Proper lighting enhances atmosphere
    • Functional furniture maximizes space
    • Minimal decor keeps the design clean

    In addition, compare prices and focus on long-term value rather than short-term savings.


    Real-Life Before & After Project Examples

    To make things clearer, let’s look at real examples.

    Living Room Upgrade

    Initially, the room looks dull. However, after repainting walls, adding modern furniture, and improving lighting, it becomes stylish and inviting.

    Bedroom Transformation

    At first, the bedroom feels plain. Then, with soft tones, layered lighting, and simple decor, it turns into a cozy retreat.

    Kitchen Makeover

    Originally outdated, the kitchen transforms completely after installing new cabinets, adding a backsplash, and improving lighting.


    Common Mistakes That Ruin Transformations

    Even though the process looks simple, many people make avoidable mistakes.

    For example:

    • They skip planning
    • They ignore lighting
    • They overdecorate
    • They exceed their budget

    As a result, the final outcome often looks unbalanced. Therefore, always stay focused and disciplined.


    How to Document Before & After Results Perfectly

    Now, let’s talk about documentation. Without proper visuals, your project loses impact.

    To do this effectively:

    • Use the same angle for both shots
    • Maintain consistent lighting
    • Avoid excessive editing
    • Highlight the transformation clearly

    Because of this, your results will look more professional and convincing.


    Advanced Tricks to Make Your Project Go Viral

    If you want to stand out, you need to go beyond the basics.

    Use Strong Visual Contrast

    First, create a noticeable difference between before and after.

    Focus on Details

    Then, upgrade small elements that people often overlook.

    Combine Style and Function

    Next, ensure your design looks good and works well.

    Tell a Story

    Finally, share the journey behind your transformation. This builds a deeper connection with your audience.


    Final Conclusion and Next Steps

    Before & After Projects Secrets: Turn Dull Spaces into Stunning Transformations Overnight proves that you can turn simple spaces into impressive results by taking action, planning smartly, and executing with precision. By understanding what to do, who can benefit, where to find ideas, when to start, why it works, and how to execute it step by step, you position yourself for success.

    So, start today. Choose one space, apply these strategies, document your progress, and transform your own before & after project into something that truly stands out.

  • Hello world!

    Welcome to WordPress. This is your first post. Edit or delete it, then start writing!