Fast, Dust-Free Techniques to Revive Tired Furniture with Minimal Effort
No-Sand Makeover Magic: Restore Old Furniture Without Sanding Like a Pro
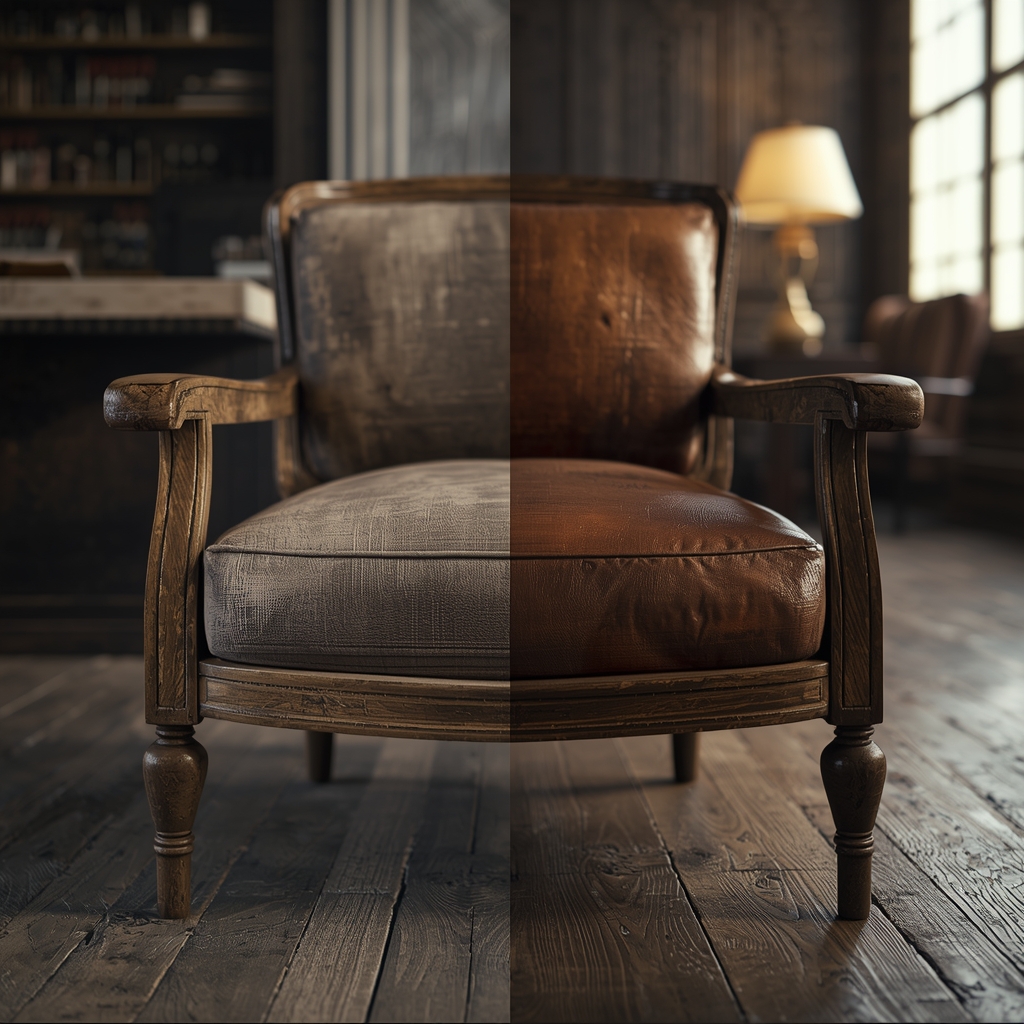
If you’ve ever wondered how to Restore Old Furniture Without Sanding: Smart Methods, you’re not alone—this approach has quickly become a favorite for DIY enthusiasts who want results without the mess. You don’t need clouds of dust, hours of prep, or heavy tools to bring old furniture back to life. Instead, you can rely on clever, modern techniques that save time while delivering impressive results.
Let’s break it down step by step so you can start transforming your furniture today. – shultzrefinishing
What Does “No-Sanding Restoration” Really Mean?
Simply put, no-sanding restoration skips the traditional process of stripping and sanding wood surfaces. Instead, it uses chemical bonding agents, cleaning solutions, and specialized paints that stick directly to existing finishes.
This method works best when:
- The furniture is structurally sound
- The surface isn’t deeply damaged
- You want a quick refresh rather than a full rebuild
In other words, you’re upgrading—not rebuilding from scratch.
Why Skip Sanding in the First Place?
Save Time and Energy
Sanding takes hours. Without it, you cut your project time in half.
Avoid Dust and Mess
No sanding means no fine dust coating your entire workspace.
Beginner-Friendly
You don’t need advanced skills or expensive tools to get started.
Protect Original Material
Sometimes, the original finish has character worth preserving.
Who Should Use No-Sand Furniture Restoration?
This method works perfectly for:
- Busy homeowners who want quick upgrades
- Apartment dwellers with limited workspace
- DIY beginners learning their first projects
- Upcyclers flipping furniture for resale
If you want fast results without complexity, this approach fits.
Where Can You Apply These Techniques?
You can restore almost any indoor furniture, including:
- Dressers
- Coffee tables
- Cabinets
- Nightstands
- Chairs
However, outdoor furniture may require extra sealing for durability.
When Is the Best Time to Restore Furniture?
Timing matters more than you think.
- Work in a well-ventilated space
- Choose a day with low humidity
- Avoid extreme temperatures (below 10°C or above 30°C)
Good conditions help finishes cure properly and last longer.
How to Restore Old Furniture Without Sanding: Step-by-Step
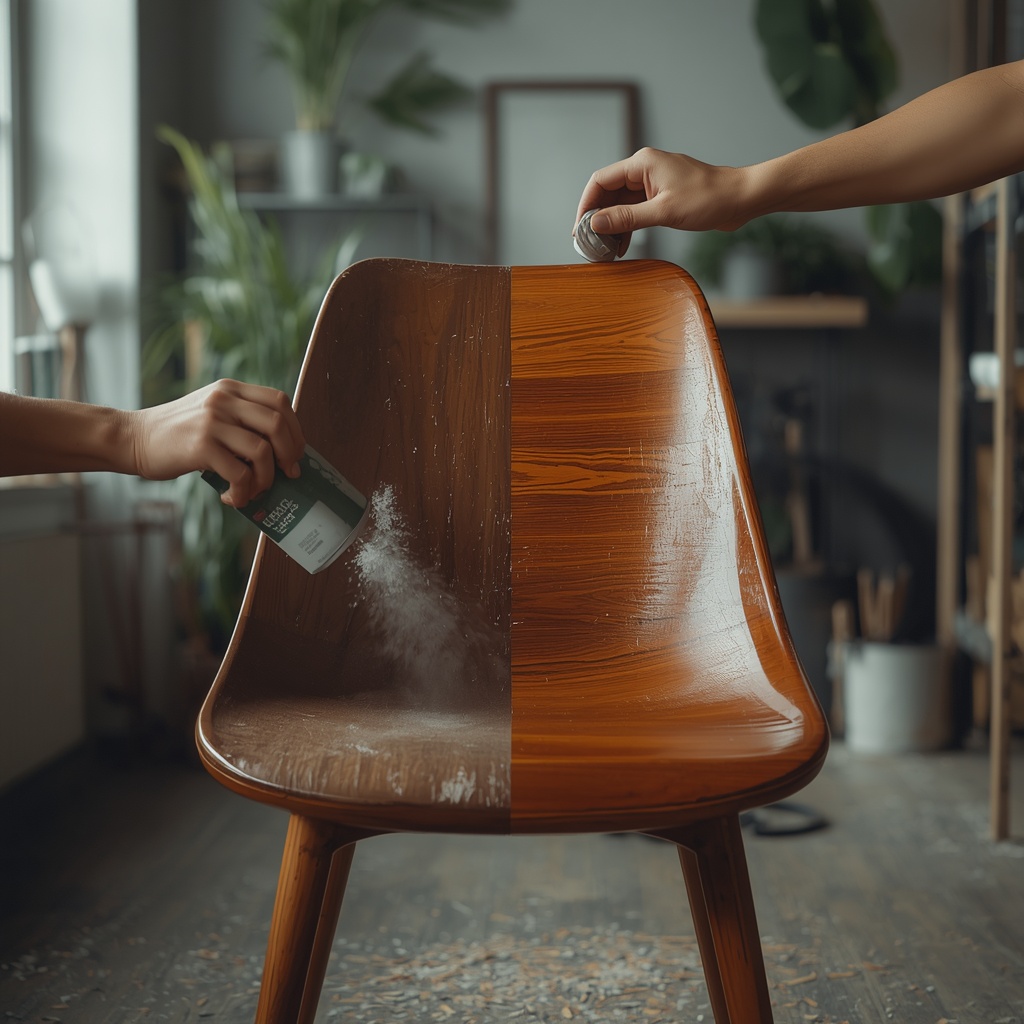
Step 1: Deep Clean the Surface
Start with a strong cleaner or degreaser. Dirt, oil, and residue prevent paint or finish from sticking.
- Use a microfiber cloth
- Focus on corners and edges
- Let it dry completely
A clean surface is your foundation.
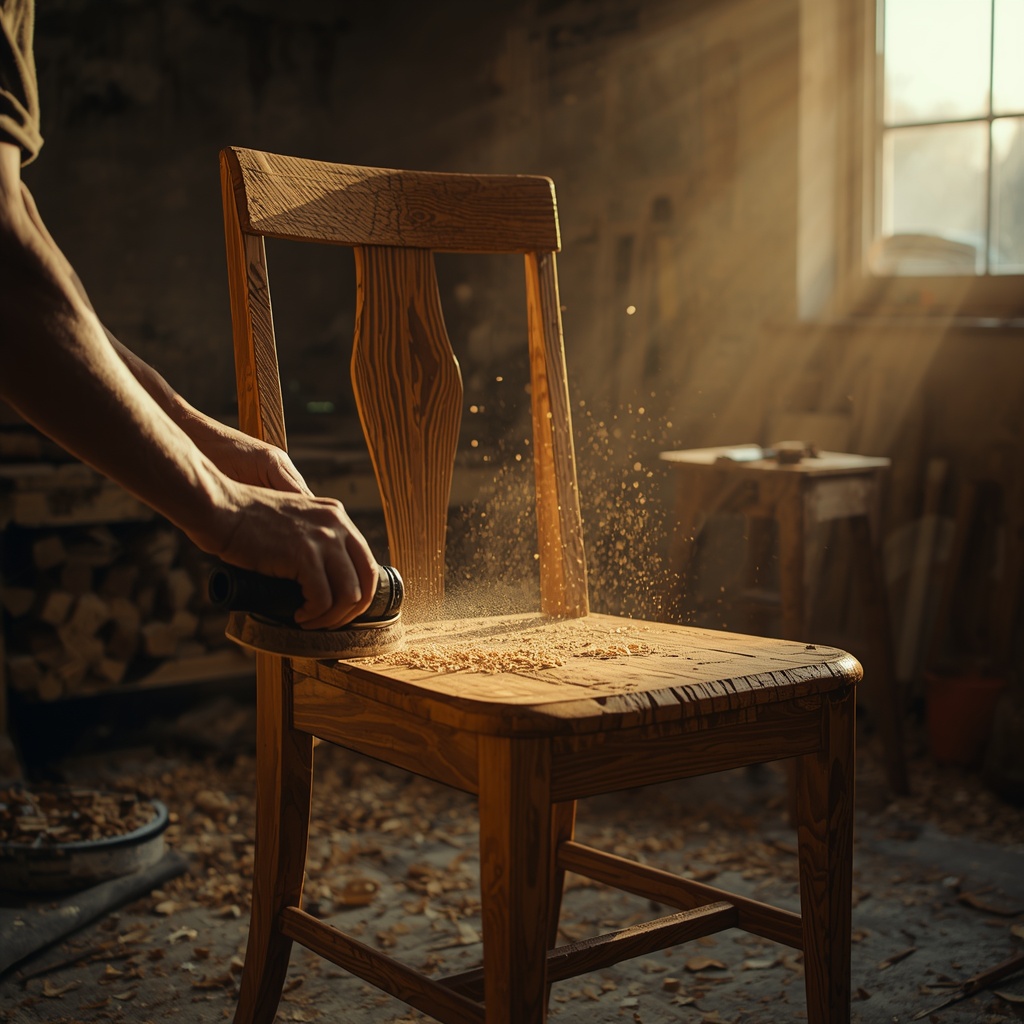
Step 2: Use a Liquid Deglosser
A liquid sandpaper (deglosser) removes shine and prepares the surface.
- Apply with a cloth
- Follow product instructions
- No rinsing required in most cases
This step replaces traditional sanding.
Step 3: Apply Bonding Primer (Optional but Powerful)
Not all projects need primer—but when in doubt, use it.
- Helps paint adhere better
- Prevents stains from bleeding through
- Creates a smooth base
Think of it as insurance for your finish.
Step 4: Paint or Refinish
Now comes the transformation.
- Use chalk paint, mineral paint, or acrylic furniture paint
- Apply thin, even coats
- Wait between coats (usually 1–2 hours)
Two coats usually deliver solid coverage.
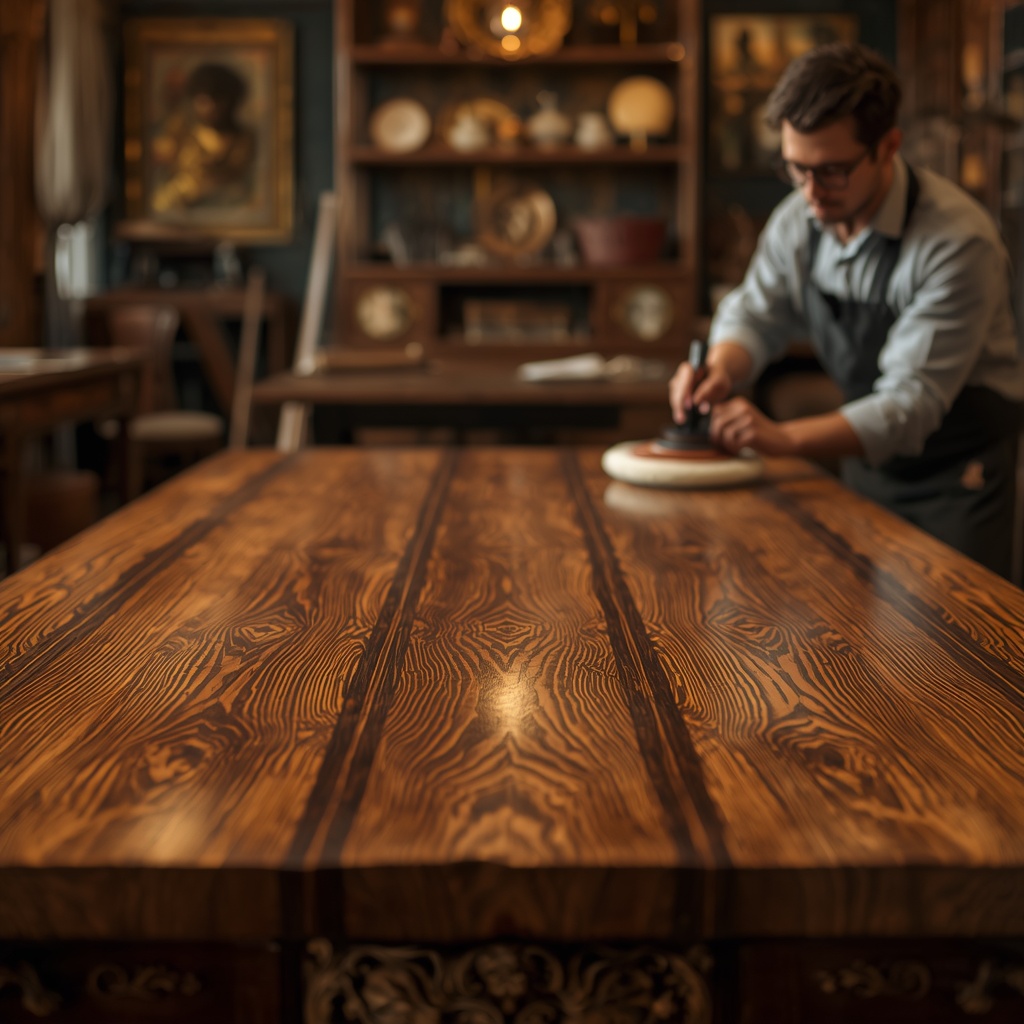
Step 5: Seal for Protection
Sealing locks everything in.
- Use polyurethane, wax, or topcoat
- Choose matte, satin, or glossy finish
- Apply evenly and let cure fully
This step ensures durability.
Smart Methods That Actually Work
Chalk Paint Magic
Chalk paint sticks to almost anything. It’s forgiving and perfect for beginners.
- No primer required in many cases
- Easy to distress for a vintage look
- Dries quickly
Gel Stain Transformation
Gel stain works over existing finishes without stripping.
- Adds rich color
- Enhances wood grain
- Ideal for cabinets and tables
Paint + Wash Technique
This method creates a soft, layered look.
- Apply paint
- Wipe partially before it dries
- Reveal texture underneath
Perfect for rustic styles.
Peel-and-Stick Veneer
Want a wood look without sanding?
- Apply adhesive veneer sheets
- Trim edges cleanly
- Seal for durability
It’s fast and surprisingly realistic.
Common Mistakes to Avoid
Skipping the Cleaning Step
Even the best paint won’t stick to grease.
Applying Thick Coats
Thick layers lead to drips and uneven drying.
Ignoring Dry Time
Rushing ruins the finish—patience pays off.
Using the Wrong Products
Not all paints are designed for furniture.
How Long Does It Take?
One of the biggest advantages is speed.
- Cleaning: 30–60 minutes
- Painting: 2–4 hours (including drying time)
- Sealing: 1–2 hours
In most cases, you can finish in a single day.
Why This Method Is Trending Right Now
People want efficiency. They want results without complexity.
No-sand restoration delivers:
- Faster projects
- Lower cost
- Cleaner workflow
- Professional-looking results
It aligns perfectly with modern DIY trends.
Pro Tips for Better Results
- Use high-quality brushes for smoother finishes
- Work in natural lighting to spot imperfections
- Sand lightly only if necessary (not required, but optional)
- Always test on a hidden area first
Small details make a big difference.
Restore Old Furniture Without Sanding the Smart Way
When you look at the bigger picture, No-Sand Makeover Magic: Restore Old Furniture Without Sanding Like a Pro isn’t just a shortcut—it’s a smarter way to work. You skip the mess, save time, and still achieve a finish that looks clean, modern, and durable. Whether you’re refreshing a single chair or flipping an entire room’s worth of furniture, these smart methods give you control without the hassle. Stick to the process, choose the right products, and you’ll turn worn-out pieces into standout features—no sanding required.