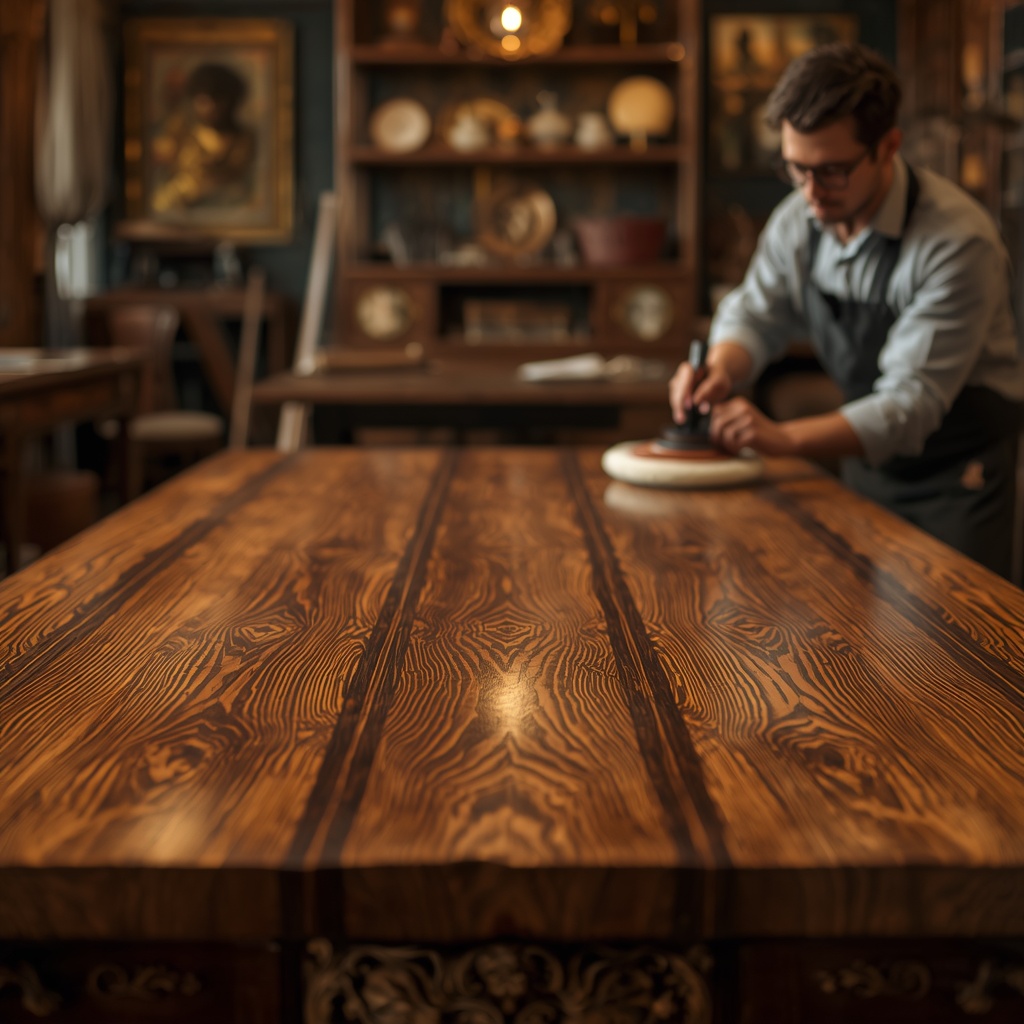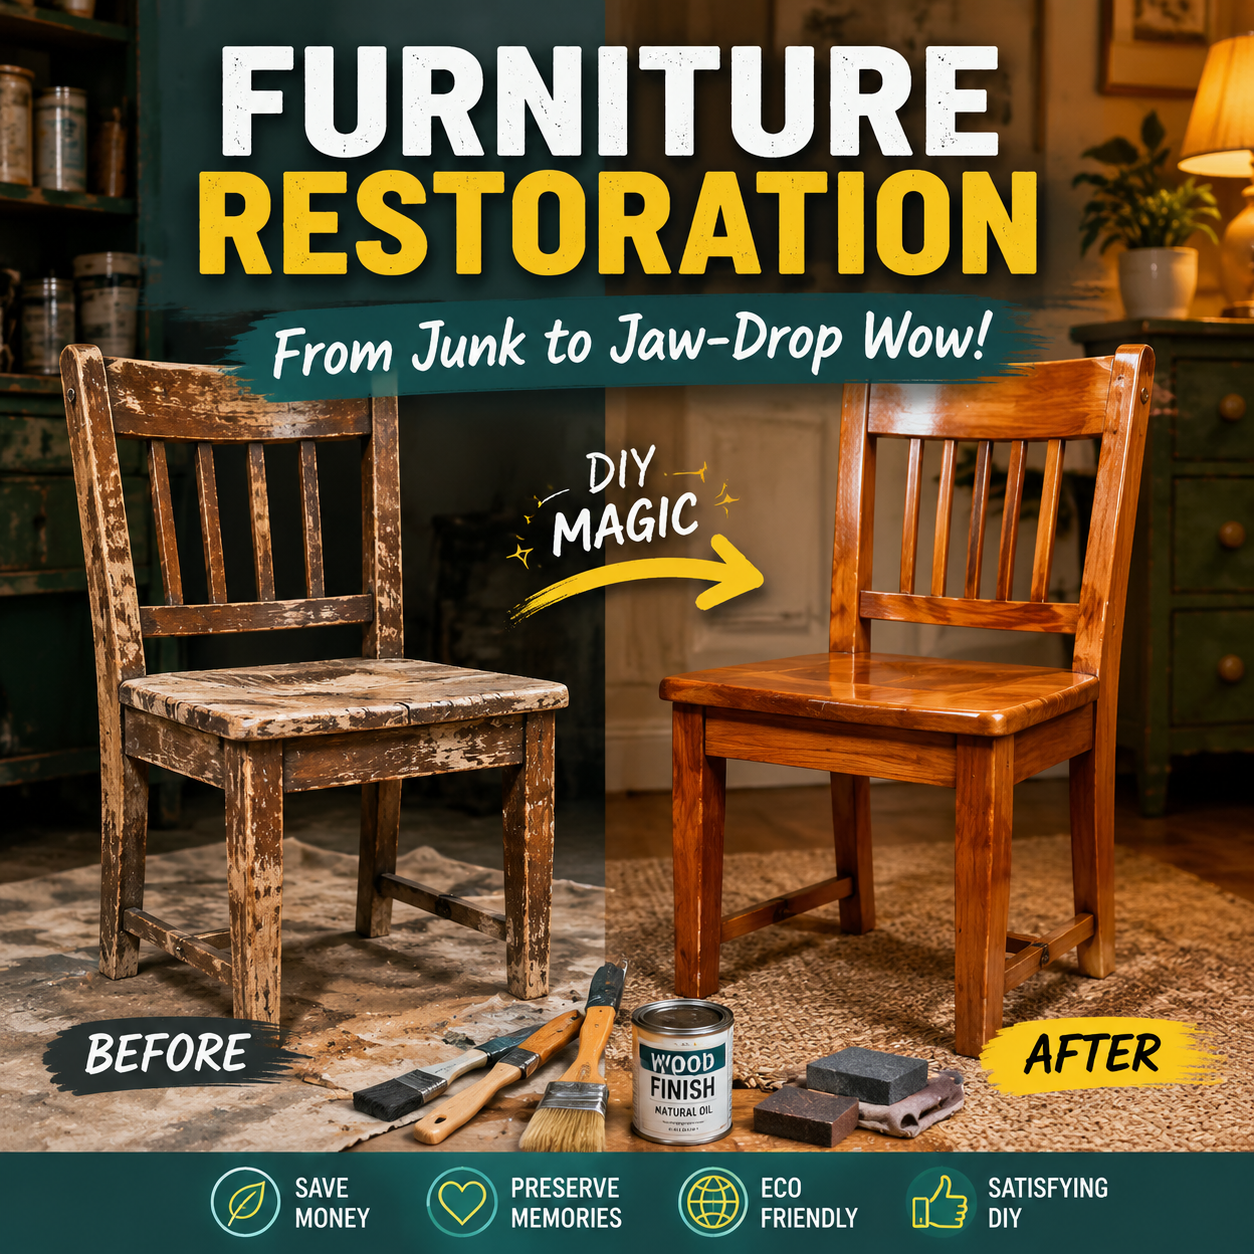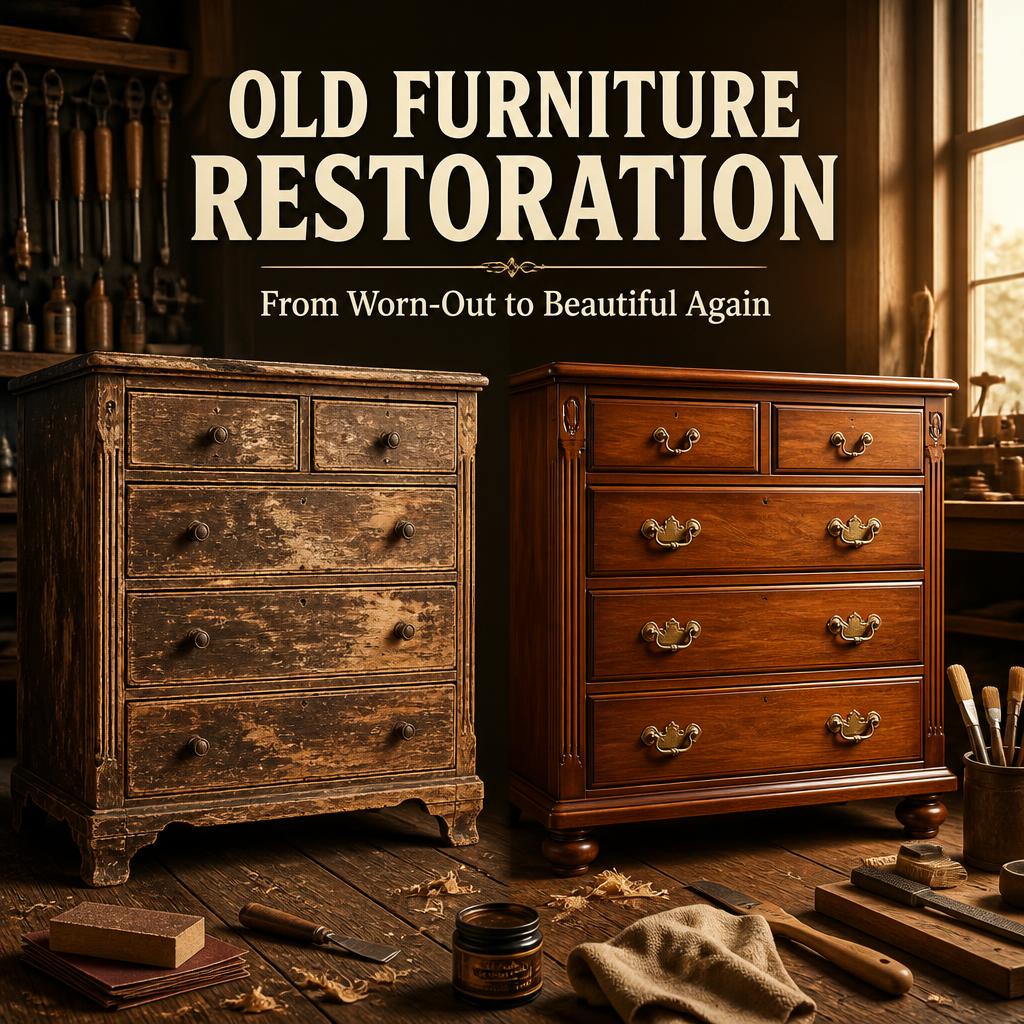
Old Furniture Restoration: From Worn-Out to Beautiful Again is more than a weekend DIY project—it is a practical way to bring character, craftsmanship, and personality back into furniture that might otherwise be forgotten. An old dresser with faded varnish, a scratched dining table, or a vintage chair sitting quietly in the garage can often become a beautiful centerpiece again with patience and the right restoration approach. – shultzrefinishing.com
Unlike simply buying something new, furniture restoration gives you the chance to preserve original details while making an item useful for modern living. The process can range from light cleaning and polishing to structural repairs, refinishing, and replacing damaged upholstery.
Why Old Furniture Is Often Worth Restoring
Older furniture can hide surprising quality beneath years of dust, scratches, and worn finishes. Many vintage pieces feature solid timber, traditional joints, hand-carved details, or construction methods that remain durable decades later.
Restoration also makes sense when a piece carries sentimental value. Perhaps it belonged to a grandparent, came from a childhood home, or was discovered at a local flea market. Instead of judging furniture by its current appearance, look at its structure, material, and potential.
Restoration vs. Refinishing: What Is the Difference?
Although people often use these terms interchangeably, they describe slightly different processes.
Furniture restoration aims to return a piece to a functional and attractive condition while preserving as much original material as possible. Refinishing usually focuses more specifically on removing or repairing an existing surface coating and applying a new one.
A full restoration project might include cleaning, tightening joints, filling cracks, repairing veneer, replacing hardware, and refinishing the surface.
Start by Inspecting the Furniture Carefully
Before reaching for sandpaper, examine the entire piece. Check the legs, drawers, hinges, joints, panels, and decorative sections.
Ask a few practical questions: What is damaged? Where are the weakest areas? How serious is the damage? Why did it occur? When does a component need replacement rather than repair? Who should handle the work if the piece appears historically valuable?
Look for signs such as loose joints, deep cracks, water stains, missing veneer, rusted hardware, or evidence of wood-boring insects. A careful inspection prevents you from accidentally turning a simple cosmetic project into a bigger repair job.
Identify the Wood and Existing Finish
Knowing the material helps you choose suitable restoration methods. Common furniture woods include oak, walnut, mahogany, pine, maple, and teak.
The existing finish matters as well. Older furniture may contain shellac, lacquer, wax, oil, or varnish. In technical terms, these coatings create a protective film-forming or penetrating layer that influences how moisture, dirt, and cleaning products interact with the wood.
Be Careful With Valuable Antique Pieces
Not every old piece should receive aggressive sanding or a completely new finish. Original surfaces, hardware, labels, joinery, and patina can contribute to an antique’s historical and monetary value.
If you suspect a piece is rare or collectible, consider consulting a professional furniture conservator before changing it significantly.
Cleaning Comes Before Sanding
One of the easiest mistakes is immediately sanding dirty furniture. Years of grease, dust, wax, and household residue can clog abrasive paper and spread contaminants across the surface.
Start with gentle dust removal using a soft cloth or brush. For suitable surfaces, carefully clean accumulated grime with a mild cleaning solution appropriate for the existing finish. Avoid soaking the timber because excessive moisture may cause swelling, staining, or veneer separation.
Let the furniture dry thoroughly before continuing.
Remove Hardware Without Losing Original Character
Handles, knobs, hinges, locks, and decorative fittings should usually be removed before major surface work begins.
Place screws and small components in labeled containers so nothing disappears halfway through the project. If the hardware is original, cleaning it may produce a better result than replacing it with something modern.
Brass and metal fittings can develop natural oxidation over time. Depending on the desired appearance, you may preserve some aged character rather than polishing every component until it looks brand new.
Repair Structural Problems First
Beautiful paint or stain cannot compensate for unstable construction. If a chair rocks, a table leg moves, or a drawer frame separates, handle those issues before concentrating on appearance.
Loose traditional joints may require careful disassembly, cleaning, and regluing. Wood glue works effectively when surfaces fit correctly, but simply pouring adhesive into a damaged joint rarely provides a professional result.
Clamps help maintain pressure while adhesive cures. However, excessive force can distort delicate parts, so apply pressure gradually.
Dealing With Cracks, Chips, and Small Holes
Minor surface defects can often be repaired with compatible wood filler or carefully fitted wood patches.
After the repair cures, gently level the area so it blends with the surrounding surface. For visible natural-wood furniture, matching grain and tone becomes especially important because poorly matched filler can stand out after staining.
Large cracks may indicate structural movement rather than simple cosmetic damage. Determine the cause before hiding the symptom.
Sand With Patience, Not Aggression
Sanding is where many DIY restorations either improve dramatically or go wrong.
Begin with an abrasive grit appropriate for the condition of the surface, then gradually move toward finer grits. Sanding progressively helps reduce visible scratches from earlier stages.
Whenever possible, work with the direction of the wood grain. Heavy sanding across the grain can create marks that become surprisingly obvious after applying stain.
Why Over-Sanding Can Ruin a Good Piece
More sanding does not automatically mean a smoother or better restoration. Thin veneer can be damaged quickly, particularly around corners and edges.
This is especially important with veneer, a thin layer of decorative wood attached to another substrate. Once sanded through, repairing the visual damage can become far more complicated than dealing with the original worn finish.
Choose a Finish That Matches the Furniture
After repairs and surface preparation, decide how you want the finished piece to look.
Wood stain can enhance natural grain while adjusting tone. Oils often create a warm appearance and penetrate into the surface, while varnish and lacquer can provide stronger protective coatings. Wax may add a soft sheen and pleasant tactile finish but generally offers different protection compared with harder coatings.
The best option depends on how the furniture will be used.
Think About Daily Use Before Choosing a Finish
A decorative side table does not face the same wear as a family dining table.
Frequently used surfaces may need greater resistance to moisture, heat, abrasion, and spills. Meanwhile, a display cabinet or decorative console may allow you to prioritize appearance and historical character.
Consider the furniture’s future location as well. Direct sunlight, humidity changes, and nearby heat sources can affect wood over time.
Should You Paint Old Furniture?
Painting can completely transform worn furniture, particularly when the original surface has extensive cosmetic damage or lacks collectible significance.
However, painting should be a considered choice rather than an automatic solution. Attractive natural grain, distinctive veneer, or historically interesting surfaces may deserve preservation.
If paint fits the piece, proper preparation remains essential. Cleaning, repairing, light sanding, and applying a compatible primer can create a much cleaner and longer-lasting finish.
Color Can Give Forgotten Furniture a New Personality
A dated cabinet can feel surprisingly modern after receiving a thoughtful color update. Neutral shades create versatility, while deeper tones can turn ordinary furniture into a statement piece.
You can also combine finishes. For example, restoring a natural timber top while painting the base creates contrast without hiding every original feature.
The goal is not necessarily to make furniture look factory-new. A few carefully preserved signs of age can make the final result feel more authentic.
Restoring Upholstered Chairs and Benches
Wood is only part of the restoration story. Old chairs, stools, benches, and armchairs may also need upholstery work.
Begin by checking the frame before replacing fabric. Springs, webbing, foam, and padding can deteriorate with age, so new fabric alone may not solve comfort problems.
When removing old upholstery, take photographs of each layer. Those images become useful references when rebuilding the seat.
Select Fabric for Beauty and Durability
A fabric may look fantastic but perform poorly under everyday use. Consider abrasion resistance, texture, cleaning requirements, and how frequently people will use the furniture.
For heavily used seating, durable upholstery fabric generally makes more sense than delicate decorative material. Matching fabric style with the furniture’s period can also create a more cohesive result.
Small Details Make Restoration Look Professional
The difference between an average makeover and a polished restoration often comes down to finishing details.
Check whether drawers slide smoothly. Align doors properly. Tighten hardware carefully. Remove sanding dust before applying finishes. Inspect corners for dried glue or uneven coating.
Allow sufficient curing time between stages. A finish that feels dry to the touch may not yet have reached its full hardness.
Rushing during the final stages can undo hours of careful preparation.
Common Furniture Restoration Mistakes to Avoid
Beginners often focus heavily on appearance while overlooking the process underneath it. Fortunately, most common mistakes are preventable.
Avoid sanding before identifying the material, applying new finishes over contaminated surfaces, using excessive water during cleaning, or replacing original hardware unnecessarily. Another common problem is applying thick coats because they appear faster. Several controlled coats generally create a cleaner finish than one heavy application.
Most importantly, do not rush simply because online makeover videos make restoration appear instant.
How Restoration Supports More Sustainable Interiors
Restoring existing furniture can also reduce unnecessary consumption. Instead of immediately replacing a worn table or cabinet, restoration extends the item’s usable life.
This approach fits naturally with ideas such as circular design, where products and materials remain useful for longer rather than moving quickly from purchase to disposal.
You also gain something difficult to find in mass-produced furniture: individuality. Natural imperfections, aged timber, repaired joints, and subtle signs of previous use give each restored piece its own story.
Giving Old Furniture a Second Life
Successful restoration does not require making every scratch disappear. It requires understanding what should be repaired, what should be preserved, and what can become part of the furniture’s renewed character.
Work gradually, inspect the piece before making permanent changes, choose materials carefully, and give adhesives and finishes enough time to cure. Whether you are refreshing a flea-market cabinet, reviving an inherited dining table, or repairing a vintage chair, thoughtful restoration can turn neglected furniture into something worth displaying again.
In the end, Old Furniture Restoration: From Worn-Out to Beautiful Again is about seeing potential where others might only see age and damage. With careful cleaning, smart repairs, patient finishing, and respect for original craftsmanship, yesterday’s worn-out furniture can become one of the most beautiful and meaningful pieces in your home.