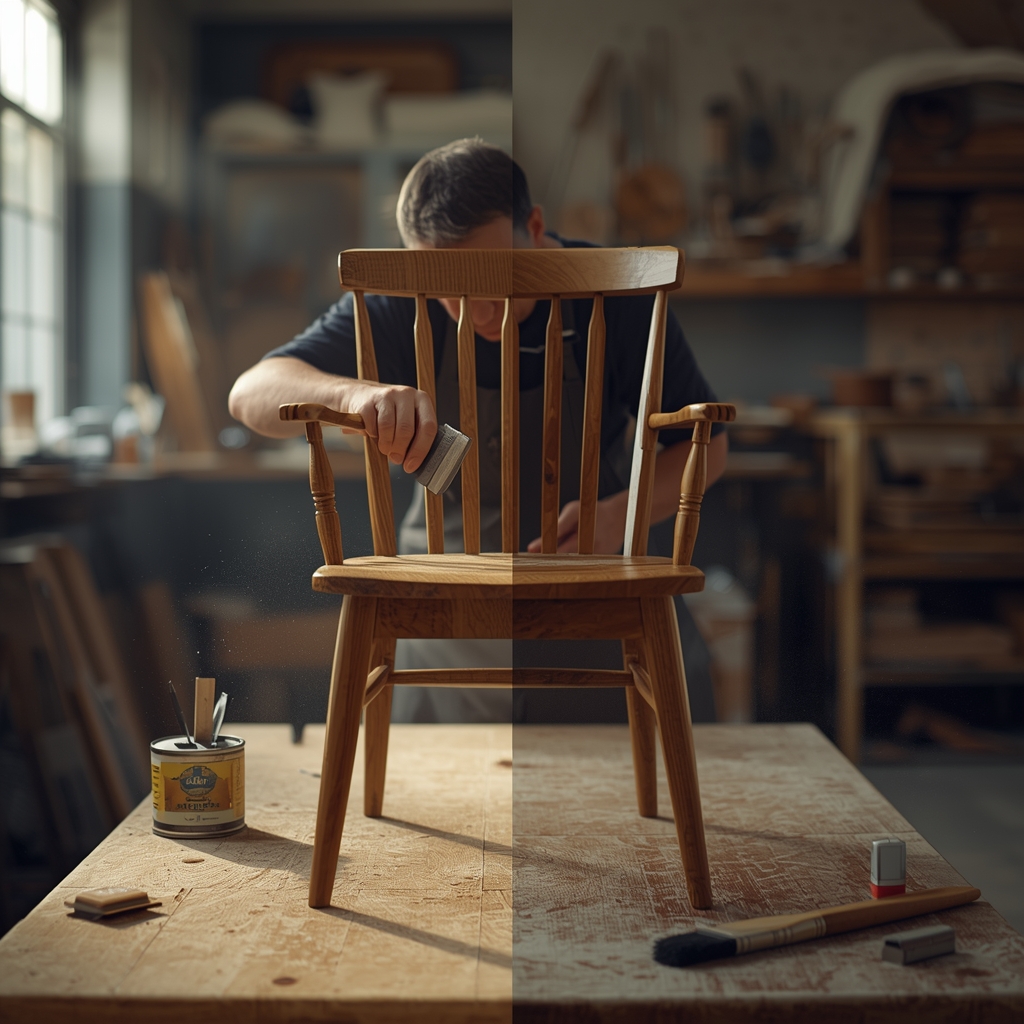
Old furniture often hides incredible potential beneath faded paint, scratched wood, and dull finishes. Hidden Refinishing Tricks That Make Worn Furniture Look Expensive Again is more than a simple restoration guide because it reveals practical methods that transform outdated pieces into eye-catching décor without spending a fortune.
Many homeowners throw away vintage cabinets, dining tables, or wooden chairs simply because they look tired. However, skilled refinishing can completely revive them. With the right tools, techniques, and patience, almost any wooden furniture piece can regain its shine and charm.
Whether you found a forgotten dresser at a garage sale or inherited an antique table from family, these refinishing tricks can help you create furniture that feels modern, elegant, and valuable again. – shultzrefinishing
Why Furniture Refinishing Is Becoming Popular Again
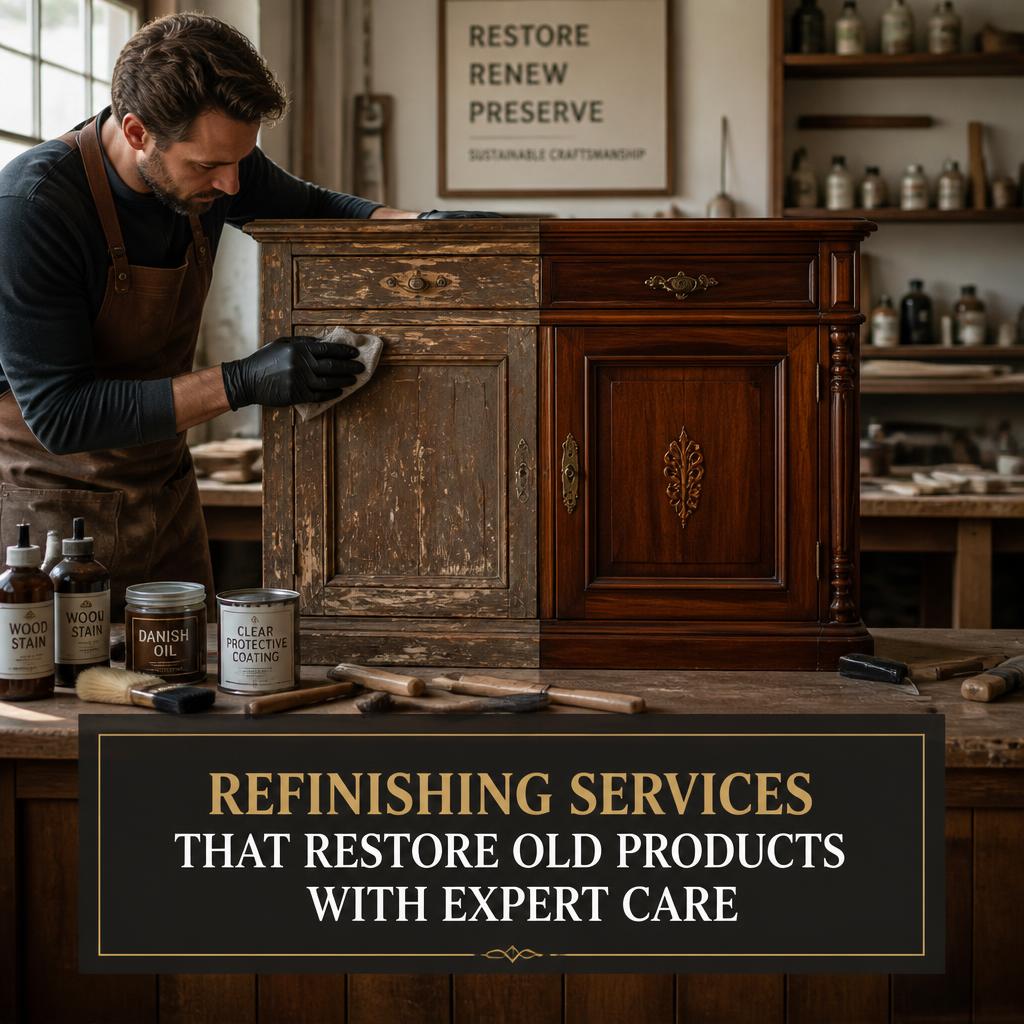
Furniture refinishing has become a major trend because people want affordable ways to decorate their homes creatively. Instead of buying mass-produced furniture, many homeowners prefer restoring older pieces with personality and craftsmanship.
There are several reasons why refinishing continues to grow:
- It saves money
- It reduces waste
- It creates custom furniture
- It preserves sentimental value
- It adds character to interior spaces
Additionally, vintage wood furniture is often made from stronger materials than many modern factory-made products. Refinishing allows that quality to shine once more.
The First Hidden Trick: Clean Before You Sand
Dirt Often Looks Worse Than Damage
One of the biggest mistakes beginners make is sanding immediately. Surprisingly, years of grease, smoke residue, furniture polish, and dust can make wood appear severely damaged when it actually is not.
Before sanding, deep-clean the furniture using:
- Mild dish soap
- Warm water
- White vinegar mixture
- Mineral spirits for stubborn grime
Use microfiber cloths and soft brushes to clean corners carefully. Once the dirt disappears, you may realize the wood underneath still looks healthy.
Why Cleaning Changes Everything
Proper cleaning helps you:
- See the real condition of the wood
- Avoid unnecessary sanding
- Prevent scratches from trapped dirt
- Create smoother finishes later
This simple step alone can dramatically improve results.
How Smart Sanding Creates Professional Results
Use Multiple Sandpaper Levels
Professional refinishers rarely use only one grit level. Instead, they gradually smooth the surface using multiple sanding stages.
A common sequence includes:
- 80-grit for removing old finish
- 120-grit for smoothing rough areas
- 220-grit for final preparation
Skipping grit levels often leaves swirl marks or uneven surfaces.
Sand With the Grain
Always sand in the direction of the wood grain. Cross-grain sanding creates visible scratches that become more obvious after staining.
For curved details and carved areas, flexible sanding sponges work much better than stiff sandpaper sheets.
The Secret Power of Wood Conditioner
Why Blotchy Stains Happen
Softwoods like pine absorb stain unevenly. As a result, dark patches and ugly streaks appear across the surface.
A hidden refinishing trick professionals use is wood conditioner.
Applying conditioner before staining helps the wood absorb color evenly. This creates smoother, richer, and more luxurious finishes.
Best Woods for Conditioner
Wood conditioner works especially well on:
- Pine
- Maple
- Birch
- Alder
Even inexpensive furniture can suddenly look custom-made after proper stain preparation.
Layering Stain Colors for a Luxury Finish
One Stain Color Is Not Always Enough
Many high-end furniture restorations use layered stain techniques instead of a single flat tone.
For example:
- Dark walnut creates depth
- Golden oak adds warmth
- Espresso highlights edges
By layering subtle colors, furniture gains dimension and richness.
How to Layer Stains Correctly
- Apply the lighter stain first
- Let it dry completely
- Add darker tones sparingly
- Blend using clean cloths
This method works beautifully on coffee tables, bookshelves, and vintage cabinets.
Hidden Glazing Techniques That Add Antique Character
What Furniture Glaze Actually Does
Glazing adds depth by settling darker pigment into carvings, corners, and grooves. It creates a naturally aged appearance that feels sophisticated rather than artificial.
Professional refinishers often use glaze to make newer furniture resemble expensive antiques.
Best Areas for Glazing
Glaze works especially well on:
- Drawer edges
- Decorative trim
- Cabinet details
- Table legs
- Moldings
A little glaze goes a long way. Overdoing it can make furniture appear muddy or overly distressed.
How Dry Brushing Creates Texture and Depth
The Easiest Faux-Aged Technique
Dry brushing is one of the simplest refinishing tricks, yet it delivers dramatic results.
The process involves:
- Dipping a brush lightly into paint
- Removing most paint on a cloth
- Gently brushing furniture edges
This creates subtle texture and layered color variation.
Best Paint Colors for Dry Brushing
Popular combinations include:
- White over dark brown
- Black over gray
- Bronze over navy blue
- Gold over matte black
Dry brushing works beautifully for farmhouse, rustic, industrial, and vintage-inspired interiors.
The Overlooked Importance of Hardware Upgrades
New Handles Change the Entire Personality
Old furniture instantly looks refreshed when outdated hardware disappears.
Replacing handles, knobs, hinges, and drawer pulls can completely modernize a piece without altering the wood itself.
Popular hardware finishes include:
- Matte black
- Brushed gold
- Antique brass
- Satin nickel
Small hardware upgrades often create the biggest visual transformation.
Where to Find Affordable Hardware
You can find stylish hardware at:
- Antique shops
- Online marketplaces
- Flea markets
- Home improvement stores
Mixing vintage and modern hardware styles also creates unique custom looks.
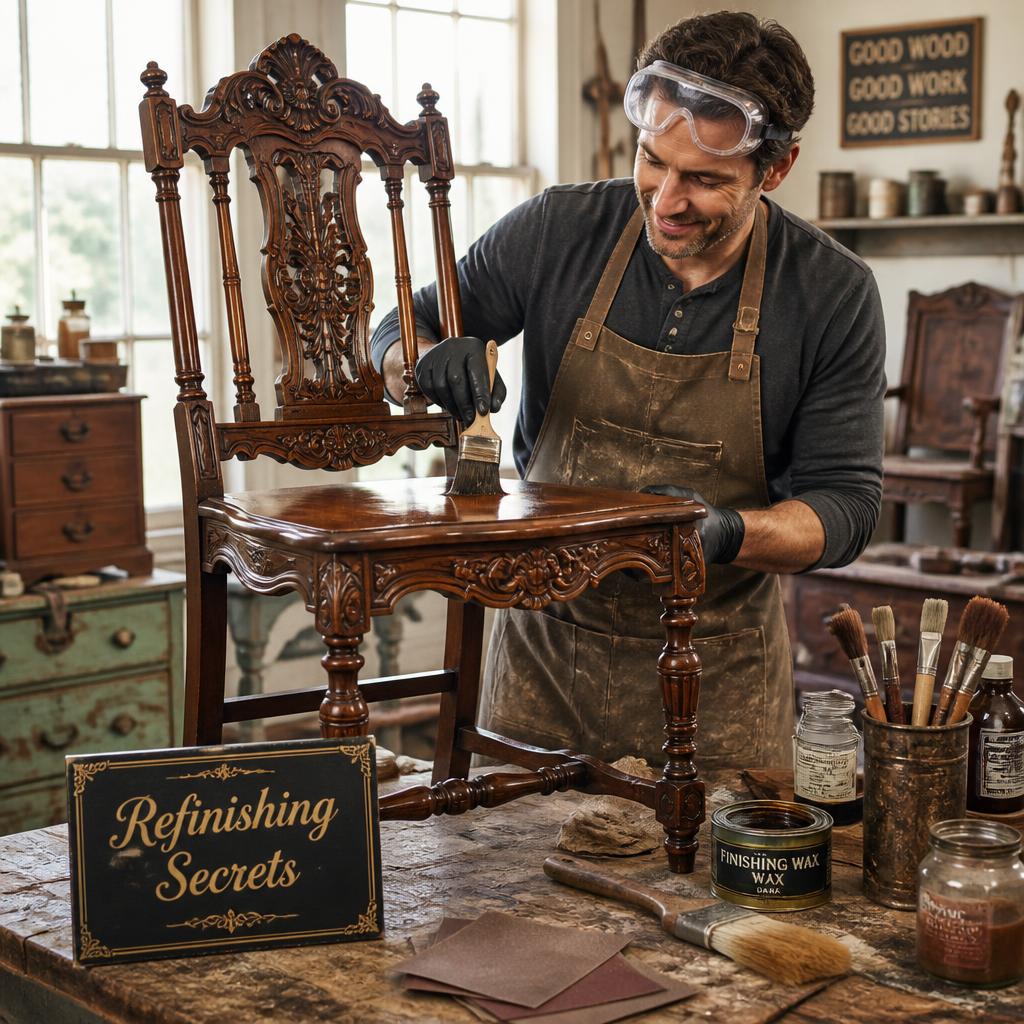
Using Wax Finishes for a Soft Luxury Glow
Why Wax Looks More Natural Than Thick Polyurethane
Heavy glossy finishes sometimes make furniture appear artificial or plastic-like. Wax finishes, on the other hand, create a softer and richer appearance.
Furniture wax enhances:
- Natural grain patterns
- Warm wood tones
- Smooth textures
It also feels more authentic when touched.
How to Apply Furniture Wax Properly
- Use a lint-free cloth
- Apply thin layers
- Work in circular motions
- Buff gently after drying
The final finish feels silky and elegant rather than overly shiny.
Hidden Repair Tricks for Scratches and Dents
Steam Can Lift Wood Dents
Small dents in solid wood often disappear using steam.
Place a damp cloth over the dent and apply a warm iron briefly. The moisture helps compressed wood fibers expand again.
This trick works surprisingly well on:
- Tabletops
- Wooden chairs
- Dressers
- Cabinets
Use Walnut for Minor Scratches
A simple walnut can hide light scratches naturally. Rub the walnut meat gently over scratches, and the natural oils darken exposed wood areas.
It sounds unusual, but many professional restorers still use this old technique today.
How Paint Washing Creates Soft Designer Finishes
The Secret Behind Elegant Coastal Furniture
Paint washing involves thinning paint with water and brushing it lightly across wood surfaces.
Unlike solid paint, wash techniques allow some wood grain to remain visible. This creates an airy and expensive appearance.
Popular wash styles include:
- Whitewashed oak
- Gray driftwood finishes
- Soft blue coastal tones
- Warm beige vintage looks
Paint washing works perfectly for beach-inspired and Scandinavian interiors.
Common Refinishing Mistakes to Avoid
Rushing the Drying Process
Many people ruin beautiful finishes by applying multiple coats too quickly. Patience matters.
Always allow enough drying time between:
- Cleaning
- Sanding
- Staining
- Sealing
- Waxing
Ignoring Wood Type Differences
Different woods react differently to stains and finishes. Oak absorbs stain differently than maple or pine.
Testing products on hidden areas first prevents expensive mistakes.
Using Cheap Brushes
Low-quality brushes often leave streaks, loose bristles, and uneven finishes. Investing in better brushes creates noticeably smoother results.
Budget-Friendly Refinishing Tools Worth Buying
Essential Tools for Better Results
You do not need a professional workshop to achieve impressive refinishing results. However, a few affordable tools make the process much easier.
Helpful refinishing tools include:
- Orbital sander
- Detail sanding sponge
- Tack cloth
- Natural-bristle brushes
- Microfiber cloths
- Foam applicators
These tools improve precision while saving time.
How Refinishing Adds Personality to Modern Homes
Modern interiors sometimes feel cold or repetitive. Restored furniture introduces warmth, history, and individuality into living spaces.
A refinished wooden cabinet or dining table becomes more than furniture. It becomes a conversation piece with visible craftsmanship and unique texture.
That emotional connection explains why refinishing continues attracting homeowners, collectors, decorators, and creative DIY enthusiasts worldwide.
Hidden Refinishing Tricks That Make Worn Furniture Look Expensive Again can completely change how people view old furniture. Instead of throwing away scratched or outdated pieces, smart refinishing techniques reveal beauty that was hidden for years.
From layered staining and dry brushing to wax finishes and hardware upgrades, small details create dramatic transformations. With patience, creativity, and the right refinishing methods, even forgotten furniture can become the highlight of a room again.